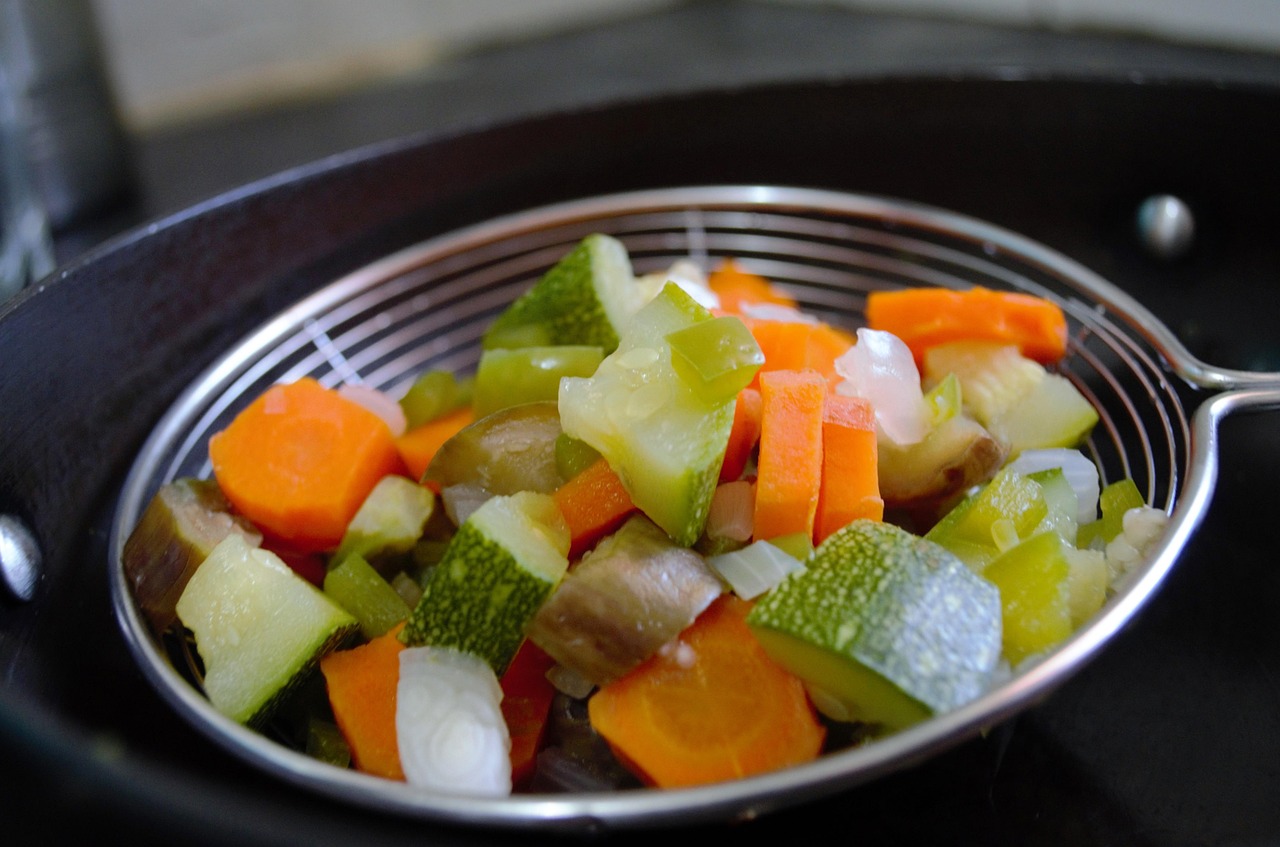
To Blanch or Not to Blanch: How to Prepare Your Garden Harvest for the Freezer
July is when things start getting real for gardeners, and your garden is suddenly producing faster than you can eat things. The freezer becomes your most important tool. You can throw all that extra into it and pull it out again later. Yes, blanch vegetables for the freezer for great results!
That said, freezing isn’t as simple as tossing things in a bag. Do it right, and you’ll pull out vegetables six months from now that still taste like the garden. Do it wrong, and you’ll end up with mushy, flavorless, freezer-burned disappointment. The difference comes down to whether to blanch or not to blanch.
Not sure what should be blanched and what’s better stored frozen? Let’s dig into the blanching vegetables, plus how to handle fruit so it comes out of the freezer looking and tasting the way it went in.
Why Does Blanching Matter?
Vegetables contain enzymes that don’t stop after harvest. They’re part of the plant’s natural processes (breaking things down, converting starches to sugars, ripening, and eventually decaying). Freezing slows them down a lot, but it doesn’t stop them entirely. Over weeks and months in the freezer, those enzymes will keep working away, changing the color, flavor, texture, and nutritional value of your food. Blanching (which is just a brief plunge into boiling water) deactivates those enzymes.
How to Blanch Vegetables
You don’t need any special equipment to start blanching, just a large pot, a colander or slotted spoon, and a big bowl of ice water. Here’s the process:
- Bring a large pot of water to a rolling boil. Use plenty of water (at least a gallon per pound of vegetables). You want the water to return to a boil quickly after you add your produce, because the clock starts from when the boil resumes, not from when you drop things in.
- Fill a large bowl with cold water and a decent amount of ice. The ice bath stops the cooking the moment your vegetables come out of the boiling water. Without it, they’ll continue to cook (even out of the water) and end up mushy.
- Lower your prepped vegetables into the boiling water and start your timer once the water returns to a boil. Most vegetables need just two to four minutes (you want a bright color and a slightly tender-crisp texture, not soft).
-
- Common times: green beans (3 minutes), broccoli and cauliflower (3 minutes), sliced carrots (2 minutes), peas (1½ minutes), zucchini or summer squash (3 minutes), asparagus (2 to 4 minutes depending on thickness).
- Transfer to the ice bath. Use a slotted spoon or spider strainer to move the vegetables into the ice water as quick as possible. Let them cool for roughly the same amount of time as they were in the pot. Although an ice bath will cool down your veggies quicker, if you want to skip this step, you can simply spread the veggies on a cookie sheet (with a cooling bread/cake rack to help drain) and let them cool and drain before bagging them for the freezer.
- Drain and dry everything. Spread the vegetables on a clean kitchen towel or paper towels and get them as dry as you can. Ice crystals will give you a mushy texture when things thaw.
- Pack into freezer bags, press out as much air as possible, label with the contents and date, and freeze flat.
The Special Case of Corn
You’ve got two options with corn, and they’re both worth considering.
If you want to freeze corn on the cob, blanch the ears whole (seven minutes for small ears, nine for medium, and eleven for large). Cool them in the ice bath, dry them, and wrap each ear in plastic wrap or a small freezer bag before putting them all together in a larger bag.
If you are able to pick corn within 24 hours of freezing, then you can shuck it, de-silk it, wash, dry, and freeze it whole on the cob in freezer bags or with a vacuum sealer. The trick is to make sure the air is out of the bag. Simply use a straw in one edge of the closure to literally suck the air out before closing the bag. It takes a little practice but works great. When the corn is newly picked, it is high in sugar content, and this process works great for us.
If you’d rather freeze cut corn (it gives you more versatility for cooking and takes up less freezer space), blanch the ears first for four minutes, cool them in the ice bath, and then cut the kernels off the cob once they’re cool enough to handle.
Pro trick: stand the ear upright in the center of a bundt pan and cut downward. The pan catches the kernels instead of sending them across the kitchen. Pack the cut corn into freezer bags, squeeze out the air, and freeze them flat.
Freezing Fruit
Good news! Fruit doesn’t need blanching. The enzymes in fruit work differently, and the natural sugars and acids help preserve quality in the freezer. However, you do still need some prep work.
For berries (blueberries, blackberries, raspberries, or strawberries), the cookie sheet method is your best friend. Wash the berries and spread them in a single layer on a parchment-lined baking sheet. Slide the sheet into the freezer and leave it for two to four hours, until the berries are frozen solid, then transfer them into freezer bags. Strawberries should be hulled and sliced or halved before freezing.
For apples, pears, peaches, and other fruits that brown fast, you’ll want to use Fruit Fresh (ascorbic acid) before they go into the freezer to prevent browning. Peel, pit, and slice your peaches, then toss them in a solution of Fruit Fresh and water following the package directions. Drain them briefly, then freeze on a cookie sheet exactly like the berries before bagging.
A note on moisture: wet fruit freezes into an icy mess. After washing, let everything dry completely on a towel before the cookie sheet step.
What Doesn’t Freeze Well?
Not everything in your summer garden is a candidate for the freezer. Cucumbers, raw potatoes, lettuce, and radishes have too much water content (they’ll freeze fine, but thaw into something you don’t want to eat). Tomatoes can be frozen (whole, cored, and straight into bags), but they’ll come out soft and are only usable in things like sauces, soups, and stews.
Want to Go Deeper?
Freezing is one of the easiest preservation methods to learn, and it’s a great gateway into the world of putting food by. If you’ve got a freezer full of blanched green beans and frozen peaches, the next natural question is: what else can I do with this harvest? That’s where canning opens up everything from jams to pickles, sauces, whole tomatoes, and pressure-canned vegetables.
Our Canning 101 Online Course is a great next step for when you’ve mastered the basics and you’re ready for more. If fresh-baked sourdough is something you’ve been wanting to tackle, our Southern Sourdough Bread and Cinnamon Rolls Online Course walks you through the whole process. And our Dirt Rich Online Course connects growing, preserving, cooking, and living on less to what sustainable, self-sufficient living actually looks like. Browse everything that’s available in the Stoney Creek Farm online shop.
We’re also sharing tips, videos, and behind-the-scenes garden moments all season long on YouTube and Facebook. Come find us there if you’ve got questions or just need a little encouragement when the zucchini situation gets out of hand.