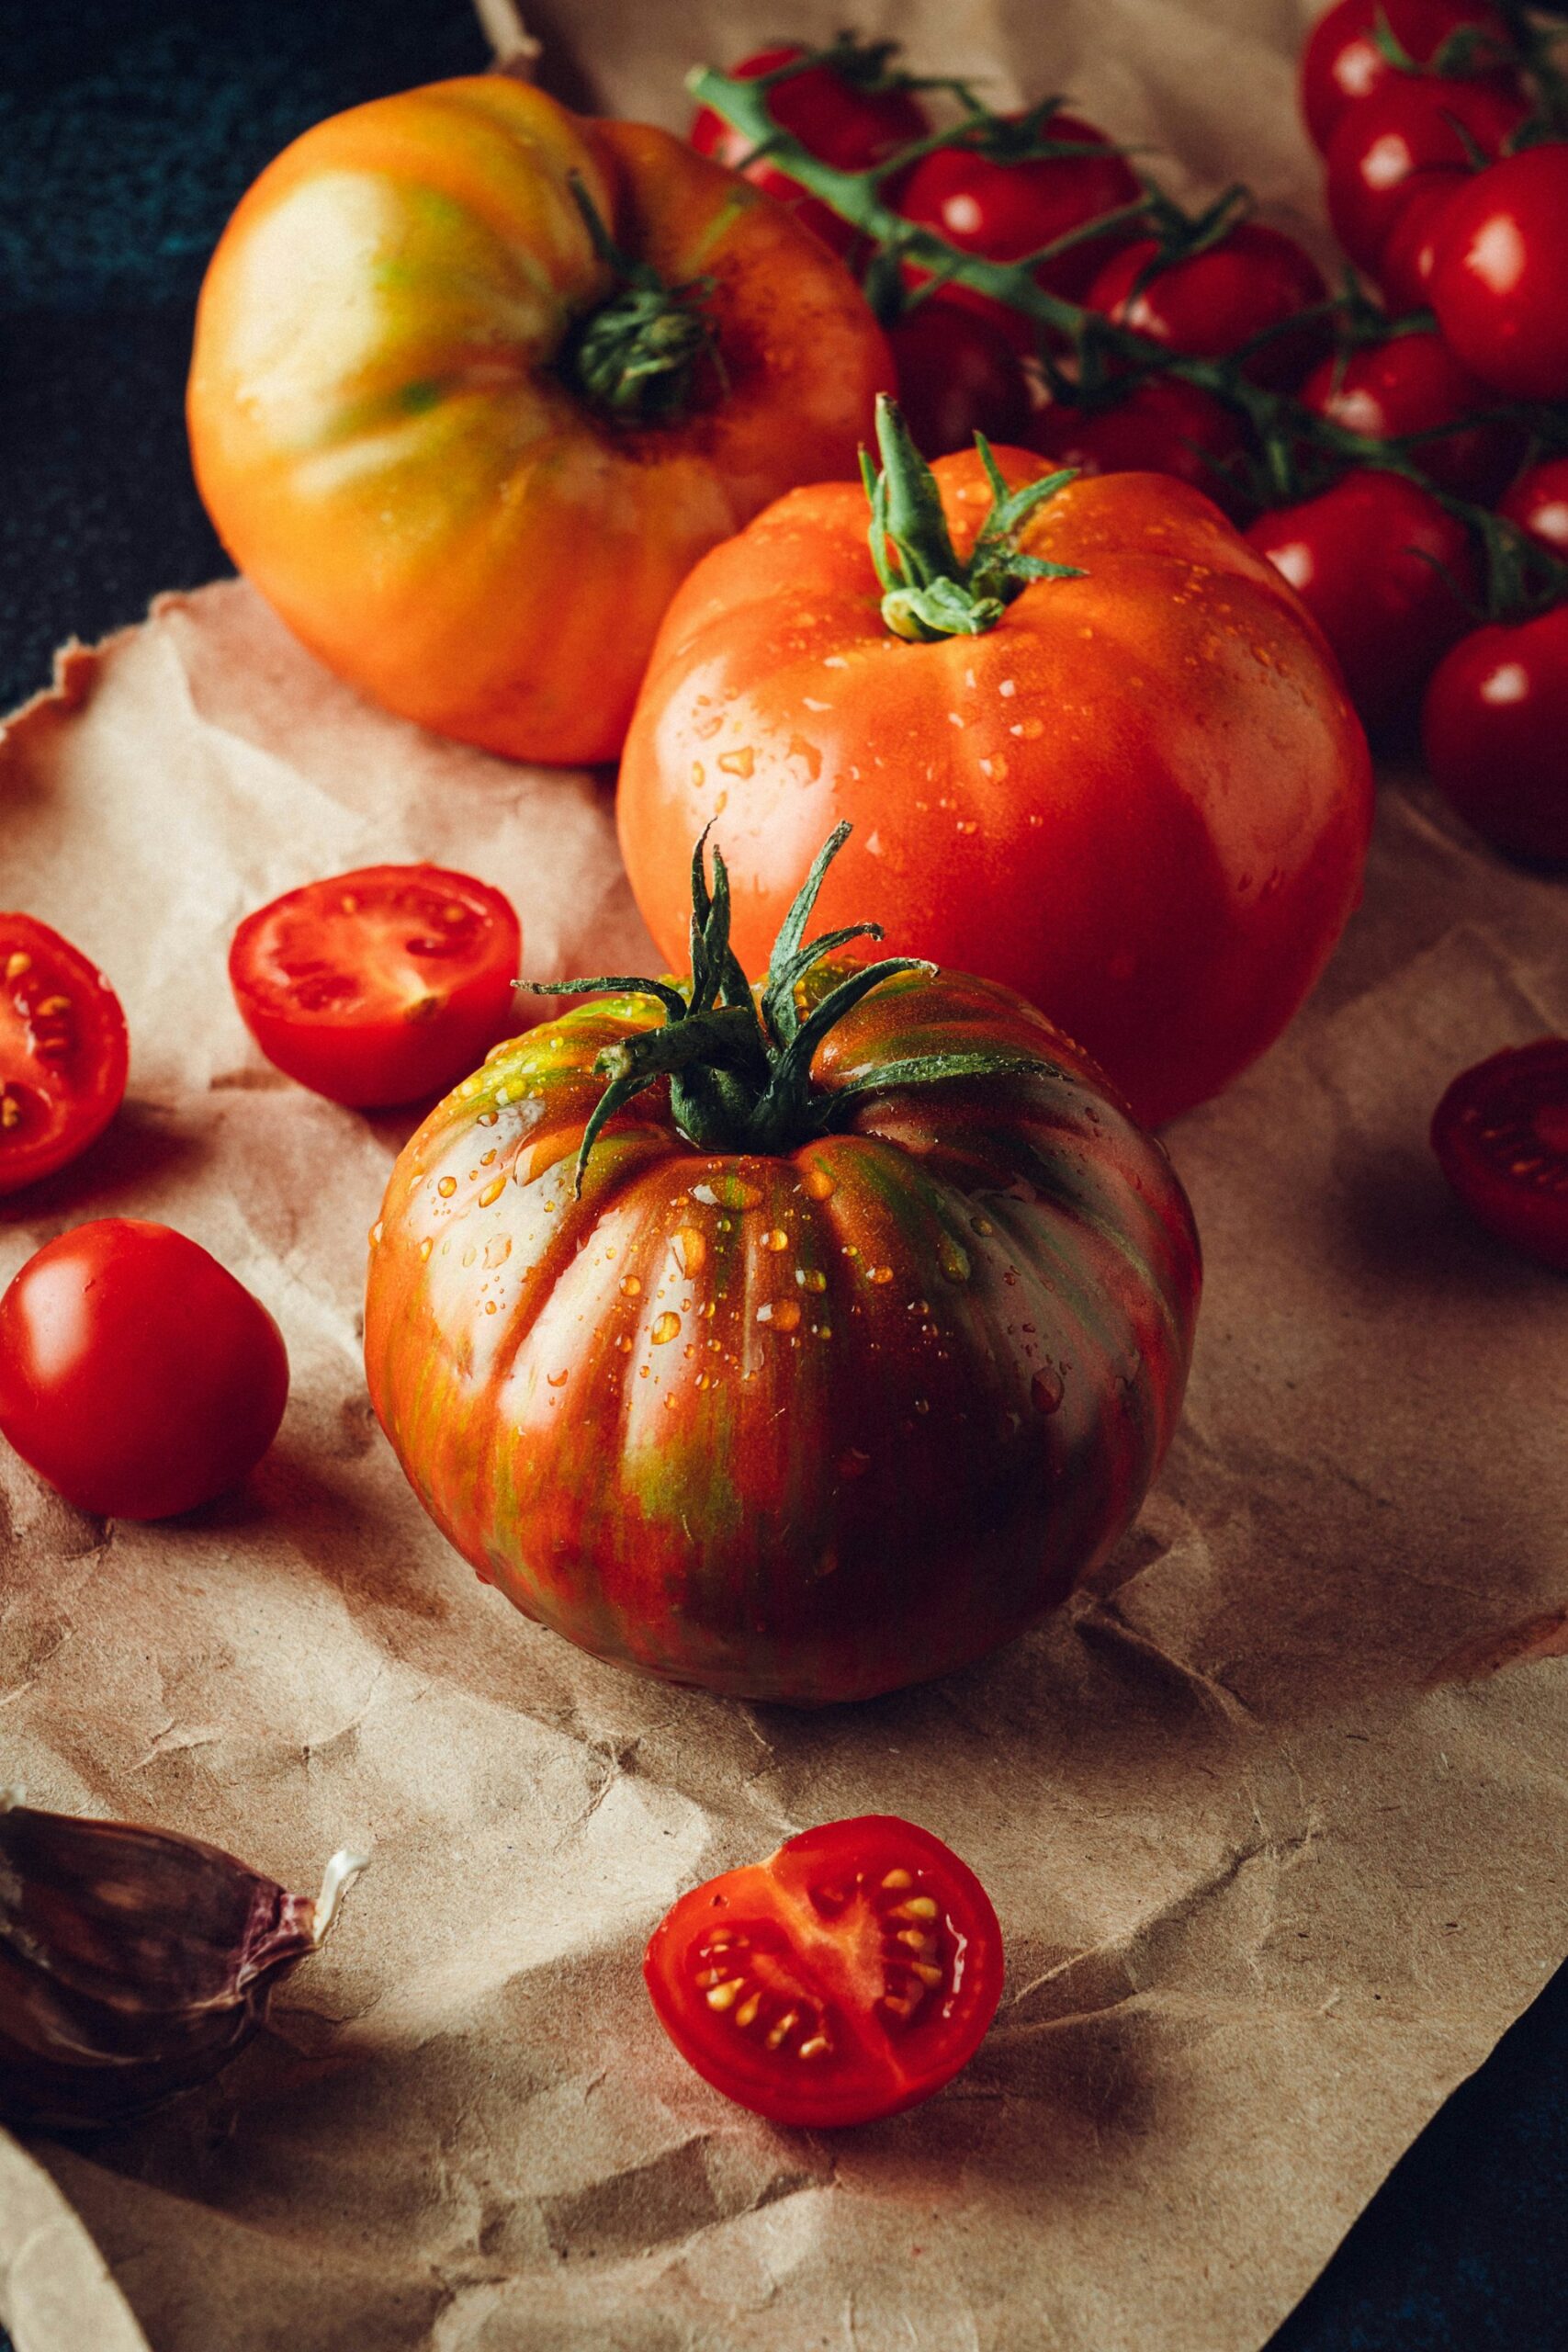
Easy Ways to Preserve Your Garden Tomatoes
You’d think that a bumper crop of tomatoes would be a good thing (and it is), but it’s often also a source of stress. You walk out to the garden, fill a basket, then another, and by the time you’re back inside, the kitchen counter looks like a produce stand, and you’re wondering what on earth you’re going to do with 30 pounds of tomatoes.
The good news is that tomatoes are one of the most versatile harvests you’ll deal with. There are plenty of good ways to put them up for winter, and you don’t need a culinary degree or a full day of prep work to get there.
If you’ve been following along with this preservation series, you already know that the best method is the one you’ll actually use. This post is about figuring out which tomato preservation technique fits for you.
Start with What You’ve Got
Before you decide how to preserve, take a look at what you’re working with. Tomatoes aren’t all the same when it comes to preservation. Paste tomatoes like Romas are naturally low in water and high in solids, which makes them great for sauces, purees, and pastes. Slicing tomatoes have more juice and are wonderful for canning whole or diced. Cherry tomatoes are sweet and concentrated, which makes them better for roasting or dehydrating.
The variety doesn’t lock you into a single method, but it does affect your options. If you’re swimming in slicers, consider making a blended tomato base. If you’ve got a surplus of cherries, try roasting them low and slow until they collapse and concentrate before freezing. Work with what the garden gave you.
The Easiest Way to Put Up a Big Batch
This is the method we use the most often, and it’s easy enough to fit into your average weeknight. The result is one of the most versatile things you can have on a pantry shelf come January.
Here’s how it works: core your tomatoes but leave the skin on (tomato skins are rich in lycopene and flavonoids). That’s it for prep. You heat the tomatoes until they’re soft (either in a large pot on the stovetop or in the oven) and then run them through the Vitamix. The blender breaks down the skin and seeds so that they blend right into the base. You end up with a smooth, full-flavored puree that also holds onto the nutrition in the skins.
Once you’ve blended, bring the puree to a rolling boil. Then you’re ready to water-bath can it. About 25 minutes in the canner and you’ve got shelf-stable jars of pure tomato goodness that’ll last through the winter and beyond.
What makes this method so useful is what you can do with that base. When you want spaghetti sauce, add garlic, onion, olive oil, and herbs. When you’re making chili, crack open a jar and pour it in. You add the spices to complete whatever recipe you’re making, which means one canning session gives you something that works across a lot of different meals.
Freezing
If you’re not ready to get out the canner, freezing is your best friend. It requires almost no equipment, and it works on every type of tomato.
For whole tomatoes, just wash, core, and freeze them on a baking sheet until solid, then transfer to freezer bags. When you’re ready to cook with them, run them under warm water for a few seconds and the skin slips right off. Drop them straight into soups, sauces, or stews, no thawing required.
You can also use our blending method for freezing instead of canning. Blend, bring to a rolling boil, let cool, and pour into freezer-safe containers or mason jars (leaving an inch of headspace for expansion).
Water Bath Canning
Tomatoes are one of the great water bath canning crops, and that’s not an accident. Their natural acidity (combined with a splash of bottled lemon juice or citric acid added to each jar) puts them in the safe zone for boiling water processing.
Whole peeled tomatoes are a great beginner project. Peel them (a quick score and dip in boiling water makes that easier), pack them into jars, and process. Diced tomatoes give you a ready-to-go kitchen staple. Tomato sauce (plain or seasoned) is the backbone of dozens of winter meals.
If you want a deeper dive, check out our full guide on water bath canning.
Dehydrating
Dehydrating is a smart option when your freezer and pantry shelves are getting full, because the finished product takes up almost no space.
Slice your tomatoes, arrange them on dehydrator trays, and run the machine at around 135°F for eight to 12 hours depending on thickness and moisture content. Cherry and grape tomatoes work especially well (halve them, and they dry beautifully). Finished dehydrated tomatoes are leathery and intensely flavored. They’ll rehydrate in soups and sauces, or you can snack on them as-is or add them to salads and pasta.
You can also take dehydrated tomatoes one step further and grind them into tomato powder in the blender. A tablespoon of tomato powder is worth something like 10 fresh tomatoes in flavor intensity. Stir it into soups, rubs, marinades, or eggs for a punch of tomato flavor that doesn’t add any liquid to your recipe. For a full breakdown of the dehydrating process, read our guide.
Beyond the Basics (Salsa, Sauce, and More)
Once you’ve got the fundamentals down, tomato preservation opens up a surprisingly wide range of possibilities. Salsa is a natural next step if you’ve also got peppers, onions, and garlic coming out of the garden.
Pizza sauce is another great use for a big tomato harvest. Cook it down, water-bath can it, and you’ve got homemade pizza nights all winter long. Tomato soup, ketchup, and tomato jam are other options that are more approachable than they sound and genuinely useful to have in the pantry.
If you grow cherry tomatoes and have more than you can use fresh, consider pickling them. They’re water bath friendly, and a jar of pickled cherries on a cheese board in February will make you very popular. You can also ferment them, if you’re feeling like something different.
A Few Tips Before You Start
Whatever method you choose, make sure you follow a few basic principles.
- Pick or buy tomatoes at peak ripeness. If you’re working with tomatoes from the garden and they’re not quite ready, store them stem-scar-down at room temperature (never in the fridge) to let them finish ripening off the vine.
- Work in batches. You don’t have to do everything in one session. A small batch of our blended base on a weeknight takes less than an hour from start to finish.
- Don’t be intimidated by the canner. Water bath canning has a reputation for being fussy, but tomatoes are one of the most beginner-friendly canning options out there.
Learn More
We’ve built a whole library of resources to help you get more out of your garden and your kitchen. If you want to go deeper on any of these preservation methods, our online classes walk you through everything from understanding your soil all the way to stocking your pantry for winter.
You’ll also find ongoing tips and behind-the-scenes content on the Stoney Creek Farm YouTube channel and on Facebook. Drop in, ask questions, and share how your tomato harvest went this year!