Water Bath Canning: Your Guide to the Process and Everything You Can Preserve
Maybe you grew up gardening and have fond memories of making your own canned food. Or, you might have fallen in love with someone else’s canned preserves or green beans. Whatever the case, a well-stocked canning pantry lets you reach back into July on a cold February evening with water bath canning.
Water bath canning is the gateway to all of it. It’s the simplest, most accessible type of home food preservation, and you can use it with a surprisingly wide range of foods. In this post, we’re covering everything: what water bath canning is, what equipment you need, where to get it, how the process works, and what belongs in the pot.
The Most Important Rule
Water bath canning works by submerging sealed jars in boiling water (212°F at sea level) for a specified amount of time. That heat kills the molds and most bacteria that would otherwise spoil your food. However, boiling water alone isn’t hot enough to kill Clostridium botulinum spores (what causes botulism) in a low-acid environment. To safely kill those spores, you need either pressure canning (which reaches 240°F) or an environment that’s acidic or sweet enough to prevent the bacteria from producing toxins in the first place. So, the rule is: high acid or high sugar, water bath. Low acid, pressure can.
What You Can and Can’t Water Bath Can
You can do a lot more with water bath canning than most people realize.
Jams and Jellies
All of them, strawberry, peach, blackberry, fig, pepper jelly, you name it, can be water bath canned. If you’ve been doing the inversion method with your jams, our recent post on why water bath canning beats inversion every time explains exactly why you should make the switch.
Fruit
Whole, halved, or sliced fruit packed in syrup, juice, or water. Peaches, pears, cherries, berries, plums, and more are all fair game. The natural acidity of fruit, combined with the processing heat, makes these shelf-stable for a year or more.
Tomatoes
Tomatoes fall right on the borderline of acceptable acidity (note: different varieties can vary considerably), which is why every tested recipe calls for added acid. You’ll add either two tablespoons of bottled lemon juice or half a teaspoon of citric acid per quart jar before processing. Don’t skip this step, and don’t substitute fresh lemon juice, which isn’t consistent enough in acidity to be reliable. If you are using heirloom tomatoes, you may not need to add any acid, because they are more acidic than a lot of the hybrid varieties. If you are not sure, just add the acid to be safe.
Pickles
Anything packed in a vinegar brine with at least five percent acidity is fair game. Cucumber pickles in all their varieties, plus pickled peppers, okra, green beans, asparagus, carrots, and beets. The vinegar acidifies everything, which is why pickles are some of the safest things to can.
Salsa, Relish, and Fruit Butters
Tested recipes for salsa and relish are formulated to make sure the overall pH stays in the safe zone even with low-acid vegetables in the mix. Apple butter, pear butter, and other fruit butters are high in both sugar and fruit acid. Stick to tested recipes for these rather than adapting your own, since the vegetable-to-acid ratios matter.
What doesn’t belong in a water bath canner: plain vegetables (green beans, corn, carrots, potatoes), meats and poultry, and dairy. These are low-acid foods that require pressure canning to be safe.
What You Need and Where to Get It
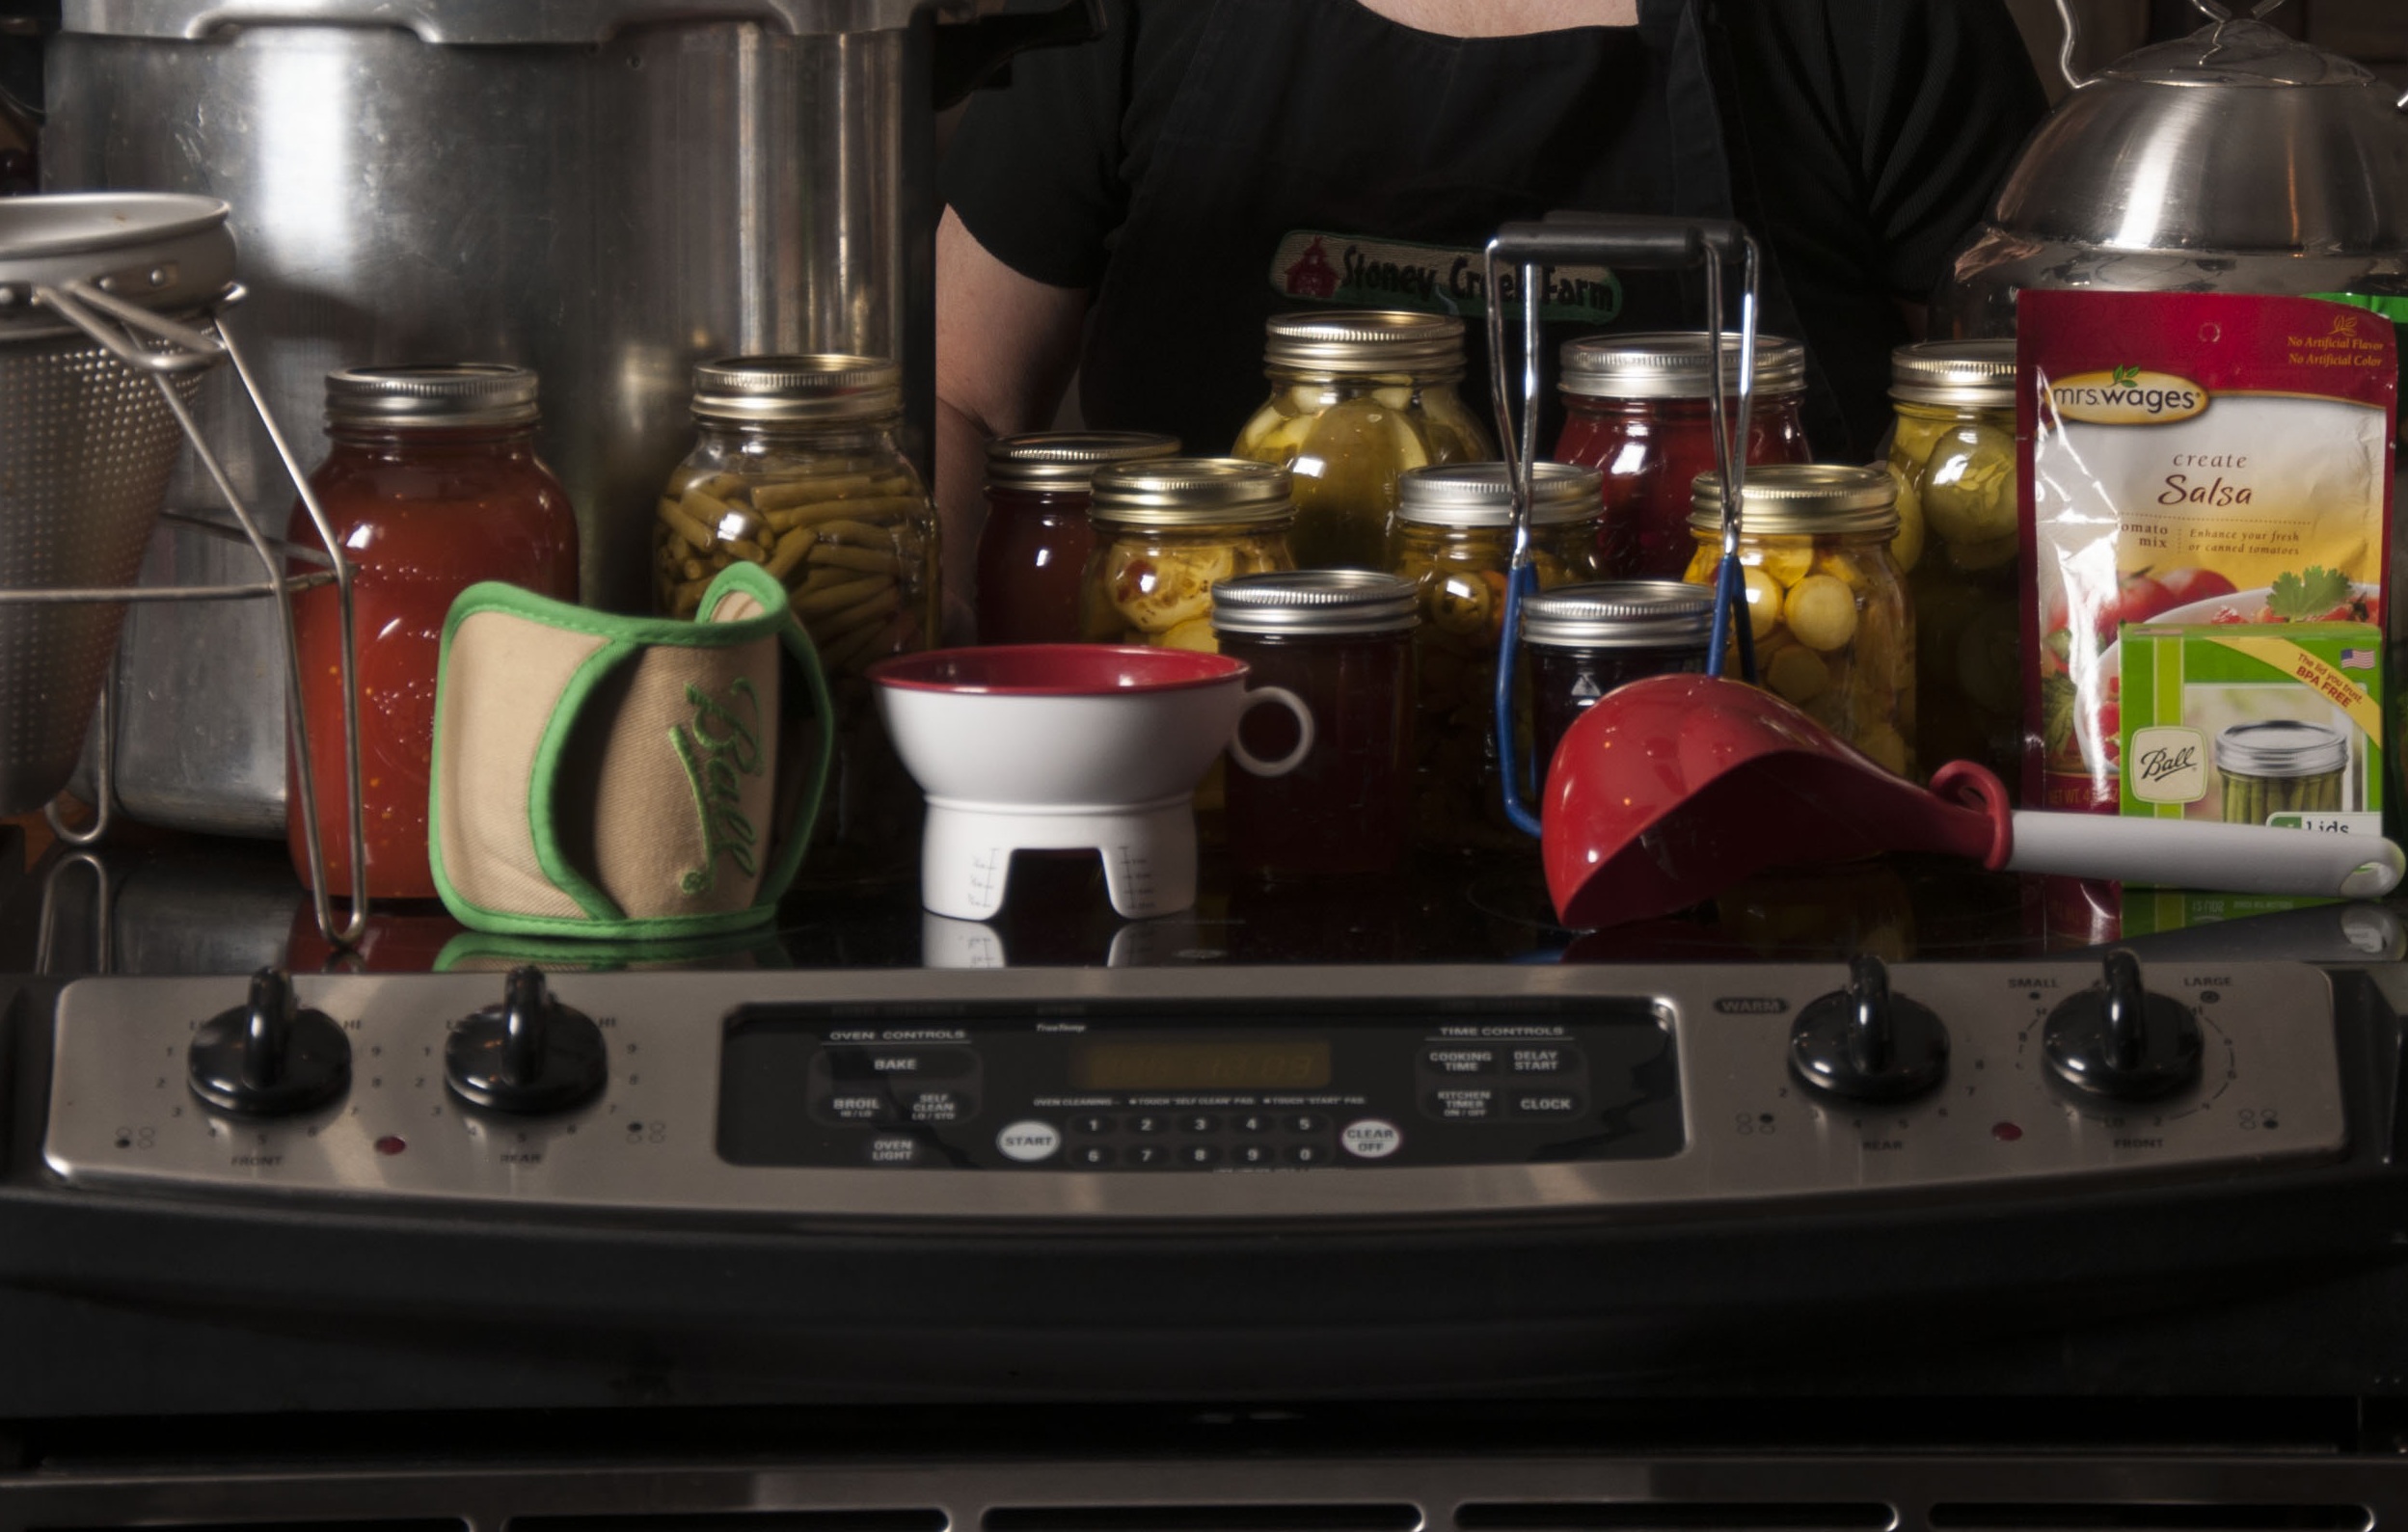
The equipment list for water bath canning is shorter and less expensive than you probably expect. You don’t need a lot, but what you do need matters.
- A water bath canner. This is a large enamel-coated steel pot with a fitted lid and a rack that sits inside it. The rack keeps your jars off the bottom of the pot (direct heat can crack them), lets water circulate underneath, and makes lifting jars out of the boiling water much easier. You can find water bath canners at hardware stores like Ace or True Value, big-box stores like Walmart and Target, farm supply stores, and Amazon.
- Mason jars. Ball and Kerr are the big brands, and they’re available at the same stores listed above, and often in bulk at warehouse stores during canning season. The jars themselves are reusable year after year as long as you check the rims for chips or cracks before each use. Never use commercial food jars (pickle jars, pasta sauce jars) for home canning because they’re not made for the thermal stress of repeated processing.
- Lids and bands. Each Mason jar has two parts to its closure: the flat disc lid (with a rubberized seal around the edge) and the metal band that screws on over it. Use new flat lids every single time because the seal is only good for one processing. Bands can be reused as long as they’re not rusted or bent.
- A jar lifter. Non-negotiable. Lifting hot, heavy jars out of boiling water with anything other than a real jar lifter is a recipe for a burn or a broken jar. They’re only a few dollars, and they’re in the canning supply section of any store that carries Mason jars.
- A wide-mouth canning funnel. This keeps your jar rims clean as you ladle in the contents. Clean rims seal, but messy rims don’t. Also helpful: a thin spatula or bubble remover tool for releasing air pockets after filling, and a clean, damp cloth for wiping rims before the lid goes on.
The Water Bath Process
- Wash your jars in hot soapy water or run them through the dishwasher. Keep them hot until you’re ready to fill because cold jars can crack when they hit the hot product. Fill your canner halfway with water and bring it to a simmer while you prep your recipe. Place lids in a small saucepan of boiling water to soften the sealing compound for about 20 seconds, and then let them simmer until ready to use.
- Use your canning funnel and ladle your hot product into hot jars, leaving the headspace specified in your recipe. Headspace matters: too little and the jar may not seal, or the contents may push out during processing. Too much or excess air will shorten shelf life.
- Run a thin spatula or bread knife around the inside edge of each jar to release any trapped air pockets. Then wipe each jar rim with a clean, damp cloth. Some use vinegar on the clean cloth and this just adds a little extra sanitizing to the process.
- Center the lid on the jar and screw the band down to finger tight. During processing, air needs to be able to escape from the jar. Bands that are too tight can prevent this and cause failures.
- Lower the filled jars into the canner using your jar lifter, making sure the water covers the tops of the jars by at least one inch (add more hot water if needed). Bring the water to a full rolling boil, then start your timer. Processing times vary, so always follow a recipe and adjust for altitude if you’re above 1,000 feet.
- When processing time is up, turn off the heat and let the jars sit for five minutes. Then lift them straight out with your jar lifter (don’t tilt) and set them on a folded towel with at least an inch of space between each jar. Leave them completely undisturbed for 12 to 24 hours. If some of the jars have not vacuumed sealed after 6 hours, then place them in the refrigerator and enjoy them within a couple of months.
- Once fully cooled, press the center of each lid. It shouldn’t flex up and down. Any jar that didn’t seal goes in the refrigerator and gets used within the next few weeks. Label each jar with the contents and date, and store in a cool, dark place.
Ready to Learn It Hands-On?
Reading about canning is a good start, but actually doing it is something else entirely. Our Canning 101 Online Course takes you through the entire process at your own pace and from wherever you are. You can find it along with the rest of the Stoney Creek Farm books and courses in our online shop.
We’re also putting out videos and tips on the farm’s YouTube channel and Facebook page all through the summer. Come join us for recipe ideas and a look at what’s coming out of the garden and off the shelves this season!