How to Prune Herbs for Maximum Harvest and Keep Your Garden Producing
There’s nothing like homegrown basil on margherita pizza or rosemary seasoning your pork chops. Growing your own herbs is one of the easiest ways to get into home gardening, too, and if you do it right, they’ll give you harvest after harvest all year long. The key is to prune herbs frequently. The more you take, the more you get. Let them go to flower and seed, and production slows to a trickle.
Most home gardeners harvest their herbs hesitantly, pinching off a sprig here and there and leaving the plant mostly intact, but that’s wrong. Regular pruning (done the right way) doesn’t stress your herbs. It triggers new growth.
Here’s what you need to know to prune your herbs, from the tender-stemmed annuals to the woody perennials.
Why Does Pruning Work?
When you cut a stem just above a leaf node (the point where a leaf or pair of leaves meets the stem), the plant responds by sending out two new shoots from that node instead of continuing to grow just one. A plant that’s pruned regularly grows dense and bushy, with dozens of productive growing tips instead of a few tall, leggy ones.
We also need to talk about flowering. Most herbs want to do one thing: produce seed. The moment a plant flowers and sets seed, its job is done, and leaf production drops. The flavor of the leaves often drops with it. Basil that’s been allowed to bolt turns bitter almost overnight, for instance.
The Most Important Rule
Never remove more than a third of a plant at any one time. This goes for almost every herb in your garden. Taking too much at once stresses the plant more than it can handle, leaving it without enough leaf surface to photosynthesize and recover.
Also, always cut above a leaf node, not in the middle of a bare stem. A cut made in a bare stem means that the plant will regrow nothing. A cut made just above a node produces two new shoots.
Soft-Stemmed Herbs (Basil, Mint, Cilantro, Parsley, and Chives)
Basil
Basil is the herb that rewards aggressive pruning most dramatically. From the time your plant is about six inches tall, start pinching (use your thumbnail and forefinger to snap off the top two sets of leaves, always cutting just above the next leaf node below). Do this every week or two, and you’ll never see a flower bud. The moment you spot one, remove it.
Mint
Mint can handle more aggressive pruning than almost anything else in the garden. Cut it back by half whenever it starts to look rangy or is about to flower, and it’ll come back within a week. Mint is also famously invasive. Keep it in a container, not in your beds.
Cilantro
Cilantro wants to bolt, especially in warm weather, and there’s a limit to how long you can hold it off. Harvest the outer leaves frequently, snipping stems from the base rather than the tips. Once you see the plant producing feathery, carrot-like leaves instead of the broad flat ones, it’s on its way to seed. You can let it go to get coriander (the seeds) or pull it and replant.
Parsley
Parsley needs to be harvested from the outside in. Always take the outer, older stems first, cutting them at the base of the plant. Never scalp the whole plant at once.
Chives
Chives are pretty forgiving. Cut the whole clump down to about two inches above the soil, and within a week or two, you’ll have a fresh flush of tender new growth. Do this three or four times a season. When the purple flowers appear in spring, you can eat those too, but snip off the flower heads once they start to fade, or you’ll have chive seedlings everywhere.
Woody Herbs (Rosemary, Thyme, Sage, and Lavender)
Woody herbs play by different rules. The most important one: never cut into old, woody, brown stems. Unlike soft-stemmed herbs, rosemary, thyme, sage, and lavender won’t regenerate from bare wood. Make all your cuts in the green, growing portion of the stem.
Rosemary
Rosemary can be harvested by snipping the tips of stems, making your cut just above a set of leaves. In spring, after the plant has finished flowering, you can do a more substantial shaping cut, but always stay in the green.
Thyme
Thyme benefits from a hard trim after flowering each year. Cut back about a third of the plant, staying in the green wood. Between harvests, snip what you need from the stem tips.
Sage
Sage gets woodier with age and eventually needs to be replaced every three to four years as the base becomes too thick and the new growth too sparse. Keep it productive by harvesting stems regularly from the tips and doing a moderate shaping cut in spring.
Lavender
Lavender needs to be pruned twice a year: once lightly in spring to shape it and encourage new growth, and once after it’s finished blooming, when you can cut the flower stalks back along with about a third of the leafy growth. If you don’t prune, lavender gets woody and sprawling, and gradually stops producing.
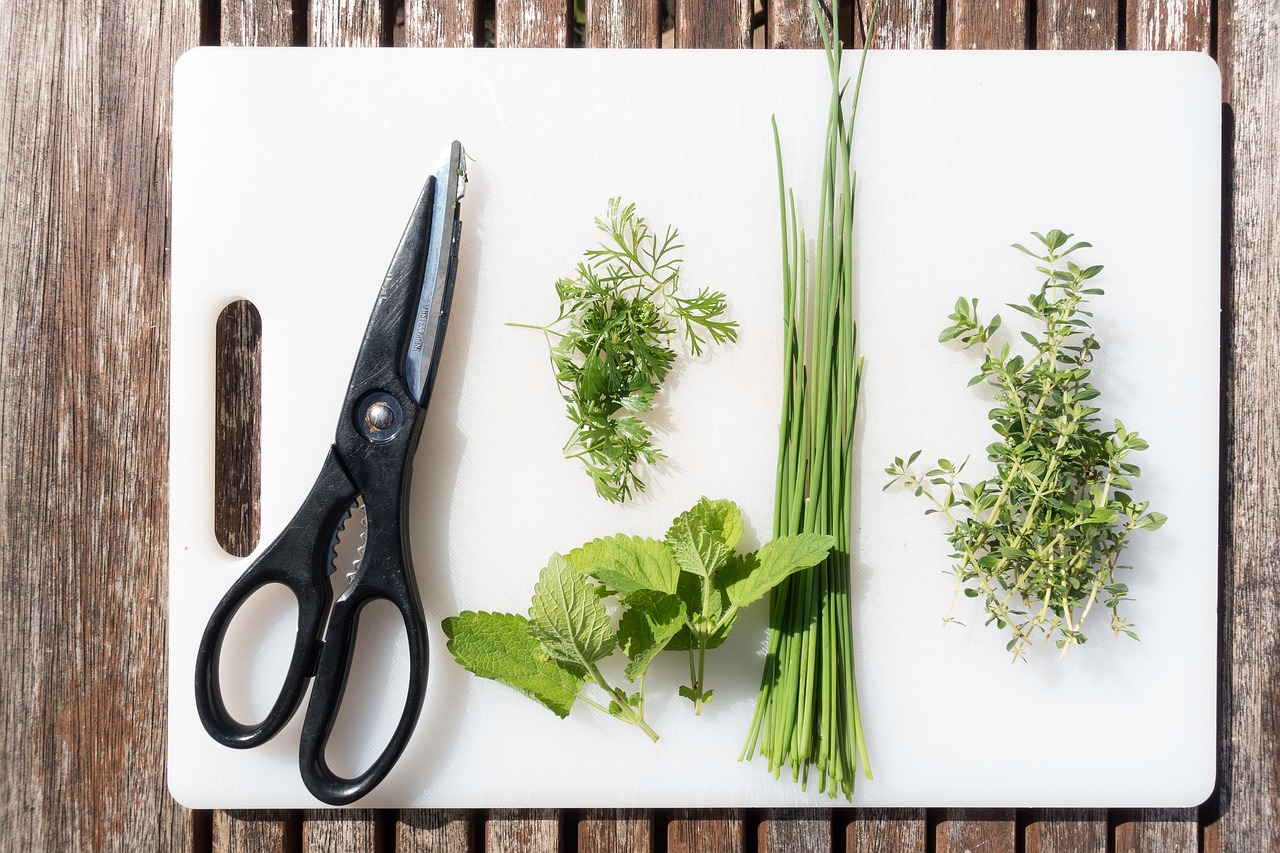
Harvesting Time and Tools
The best time to harvest herbs is in the morning, after the dew has dried but before the heat sets in. That’s when the essential oils are most concentrated in the leaves. A midday harvest in full sun isn’t the end of the world, but morning herbs are better.
For soft-stemmed herbs, clean scissors or even your thumbnail and forefinger are all you need. For woody herbs, a pair of sharp bypass pruners or herb snips will give you a cleaner cut. Make sure to keep your blades clean and sharp. A dull blade tears instead of cuts, and a torn stem usually means trouble.
What to Do with Your Herbs
Once you start pruning the right way, you’ll have more herbs than you know what to do with, which is a great problem to have.
Fresh herbs change everything you cook. Think rosemary and thyme folded into sourdough bread dough, or chives stirred into butter and spread over a warm loaf. If sourdough bread baking is something you’ve wanted to try, our Southern Sourdough Bread and Cinnamon Rolls Online Course is a great next step, and a garden full of fresh herbs gives you options once you’ve got the basics down.
A huge herb harvest is also a chance to preserve things. Herb-infused vinegars, herb salts, dried bundles hung in the kitchen, and frozen herb cubes in olive oil let you capture the summer garden. If you’ve been curious about preserving your harvests, our Canning 101 Online Course gives you the skills you’ll need. If you want to go deeper into the world of herbs, The Cracked Pot Herb Book should be on your shelf.
Of course, none of that’s possible without healthy soil, and that’s what the Dirt Rich Online Course is all about. This course condenses years of our hands-on experience into something you can work through at your own pace.
Start Pruning and Don’t Stop
The hardest part of pruning herbs is just getting comfortable with the process (that feeling that you’re taking too much). You’re not. Herbs are built for this. They evolved in conditions with grazing animals and drought, and they learned to respond to that with growth.
Pick up your scissors. Cut just above that leaf node. Take a third, not a timid sprig. Use what you take. Come back in two weeks and do it again. Get it right, and your herb garden will still be going strong in October!