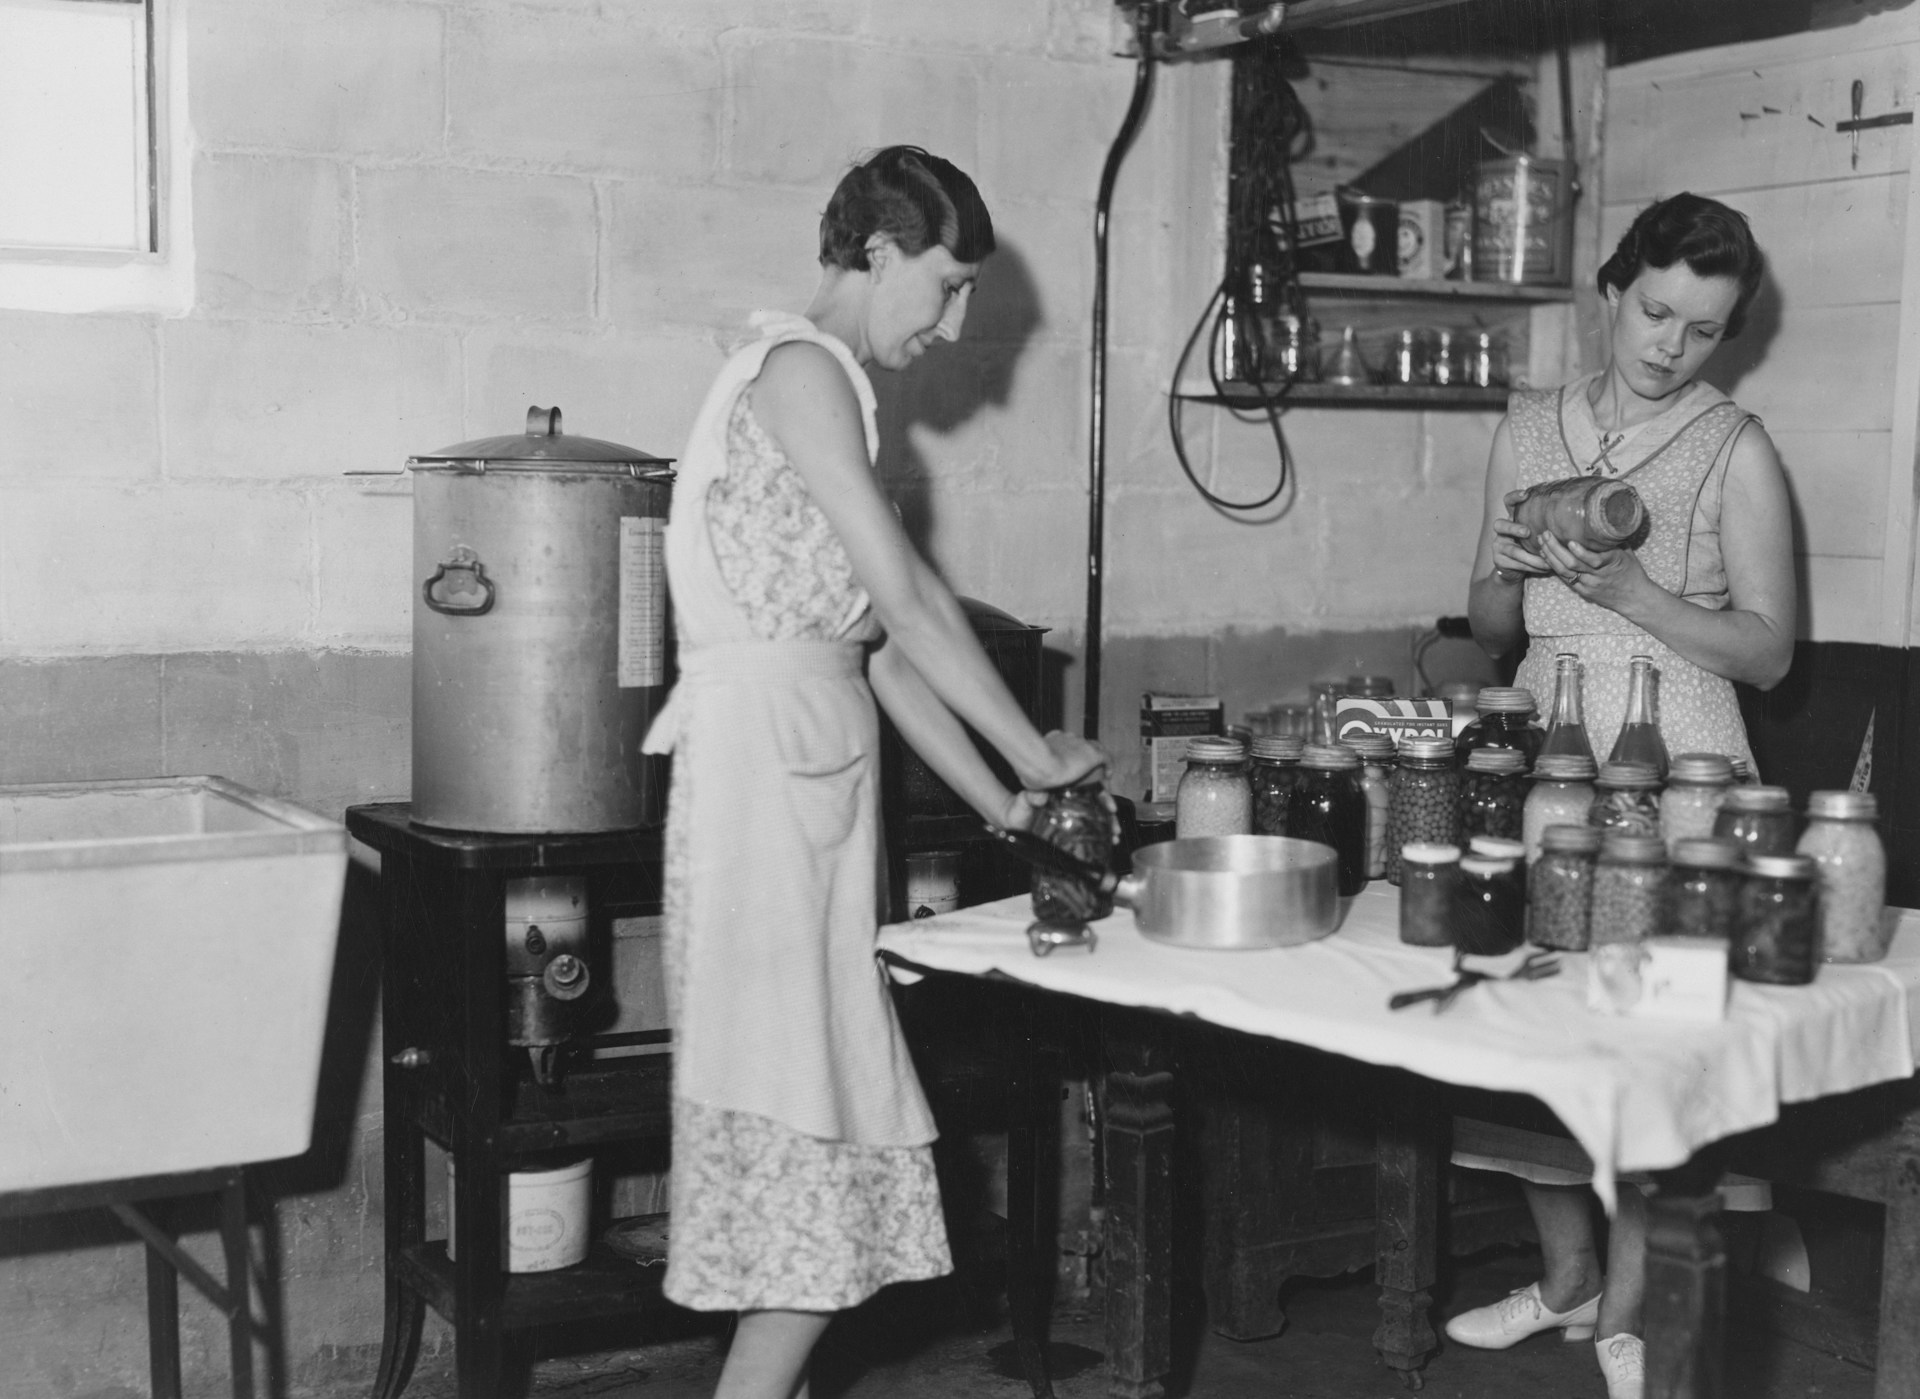
Pressure Canning 101: Why Low-Acid Vegetables Like Green Beans and Corn Need More Than a Water Bath
On February 2, 1924, 12 people sat down together to eat at a ranch outside Albany, Oregon. The meal was ordinary: fresh meat, boiled potatoes, bread, butter, and coffee. There was also a salad made from home-canned string beans, grown in the family garden, put up the summer before. The beans looked and smelled fine. One guest noted an odd taste, but no one thought much of it.
All 12 people died from botulism. Beans had been processed using the same method used for jams and fruit. The woman who canned them had been putting up vegetables in her garden for nearly 30 years without a problem. Jars had sealed perfectly, and nothing about those beans showed any signs of danger. However, boiling water just isn’t hot enough to make low-acid vegetables safe, and the family had no way of knowing it.
That story is the reason we have pressure canning. Preserving your own food is one of the best things you can do, but you need to know why certain foods require a pressure canner.
Why Isn’t 212°F Enough?
Like we talked in our guide to water bath canning, a boiling water bath reaches 212°F, which is more than enough to kill molds, yeasts, and most bacteria in a high-acid or high-sugar environment. However, Clostridium botulinum is a different problem entirely.
It produces spores that live in ordinary garden soil, and those spores are incredibly heat-resistant. Boiling water doesn’t kill them. They survive, and in a sealed jar with low acidity and no oxygen, they germinate and produce one of the most potent toxins known.
To kill C. botulinum spores, you need to reach 240°F, which you can only do under pressure. A pressure canner works by sealing steam inside a locked vessel, raising the pressure (and with it the temperature of the steam) well above what open boiling can reach. At 10 pounds of pressure (adjusted for altitude), you hit 240°F. As the 1924 news reporting noted: “The bacteria comes from a spore that originates in the ground and is destroyed only when the temperature reaches 240 degrees or more… Commercial vegetables are cooked at a degree or so more than 240 degrees.” Home canners couldn’t do that until the pressure canner came along.
The other thing worth understanding is that the toxin is tasteless, odorless, and invisible. A jar of home-canned green beans can look, smell, and taste completely normal and still be lethally contaminated.
What Belongs in the Pressure Canner?
Anything low-acid that you’re preserving without vinegar or sugar belongs in the pressure canner. That means virtually the entire vegetable garden, once you get past tomatoes (which need added acid even for water bath) and pickled vegetables:
- Green beans and snap beans are the classic example, and the one with the most documented history of causing illness. Always pressure can.
- Corn, whether whole kernel or cream-style, is low-acid and dense, two conditions that make heat penetration important. Pressure canning is the only safe method.
- Greens (turnip greens, collards, spinach, kale, etc.) pack down significantly in the jar and require pressure canning.
- Peas, shelled or field peas of any variety, are low-acid. Pressure can only.
- Carrots, potatoes, winter squash, and beets (when not pickled) all require pressure canning.
- Meats, poultry, and seafood of all kinds require pressure canning. Soups and stews with low-acid ingredients also require pressure canning.
What Equipment Will You Need?
A pressure canner is not the same as a pressure cooker. Pressure cookers are smaller, thinner-walled appliances designed for cooking, not for processing multiple jars of food. A pressure canner is a large, heavy-gauge aluminum or stainless pot specifically designed for home canning. It should hold at least four-quart jars, have a locking lid with a pressure gauge and steam vent, and be built to maintain consistent pressure throughout a long processing cycle. Presto and All-American are the two biggest brands.
You’ll find two types of pressure regulation used: a dial gauge, which shows the exact pressure reading on a numbered dial, and a weighted gauge (also called a jiggler), which rocks and releases steam at a preset pressure. Weighted gauges don’t require calibration. Dial gauges do. If you have a dial gauge canner, have it tested annually at your local county Extension office. I strongly recommend the dial gauge because it is more accurate for reading the pressure.
Beyond the canner itself, you’ll need the same supplies as water bath canning.
The Process
- Wash jars and keep them hot. Wash and prep your vegetables according to your tested recipe. Always use an up-to-date, tested recipe from a source like the USDA Complete Guide to Home Canning, the Ball Blue Book, or your local Extension service. Don’t adapt your own.
- Pack vegetables into hot jars, leaving the headspace specified in your recipe. Add salt if you want (it’s optional for safety but adds flavor and texture). Remove air bubbles, wipe rims with a clean, damp cloth, and apply lids and bands finger tight.
- Add the amount of water specified in your canner’s manual (usually two to three inches). Place the rack in the bottom, load your filled jars using the jar lifter, and lock the lid.
- Heat the canner on high with the vent open (weight off or petcock open) and let steam flow steadily for a full 10 minutes. This purges air pockets from inside the canner. Air doesn’t conduct heat as well as steam, and air pockets create cold spots where the temperature never gets to 240°F.
- Put the weight on the vent or close the petcock (sometimes referred to as a ‘peacock’). Allow the canner to get to the required pressure (10 pounds at sea level for most vegetables; adjust upward for altitudes above 1,000 feet). Once you reach temp, start your timer and keep steady pressure for the full processing time.
- When the processing time is complete, turn off the heat and let the canner depressurize on its own. Don’t run it under cold water, and don’t try to force the pressure down.
Once pressure has fully dropped and the lid unlocks, wait 10 more minutes before opening it. Remove jars with your jar lifter, set them on a folded towel with space between them, and don’t touch them for 12 to 24 hours. Check seals, remove bands, label with date and contents, and store in a cool, dark place.
Avoid These Mistakes
While pressure canning isn’t terribly complicated, it’s easy to make some mistakes.
- Don’t improvise recipes.
- Always make altitude adjustments.
- Don’t let hot-pack food cool in the jars before processing.
Learn It Right
Pressure canning can be intimidating at first, but once you’ve done it a few times, it becomes pretty routine. That said, there is a learning curve, and it’s important to learn the right way the first time.
Our Canning 101 Online Course covers both water bath and pressure canning. It’s the same content taught in hands-on classes at the farm, available at your own pace from wherever you are. You’ll also find all the books and courses in the Stoney Creek Farm shop.
Don’t forget that you can get preservation tips and farm updates all summer on YouTube and Facebook. Come find us there if you have questions or want to share what’s coming out of your own kitchen.