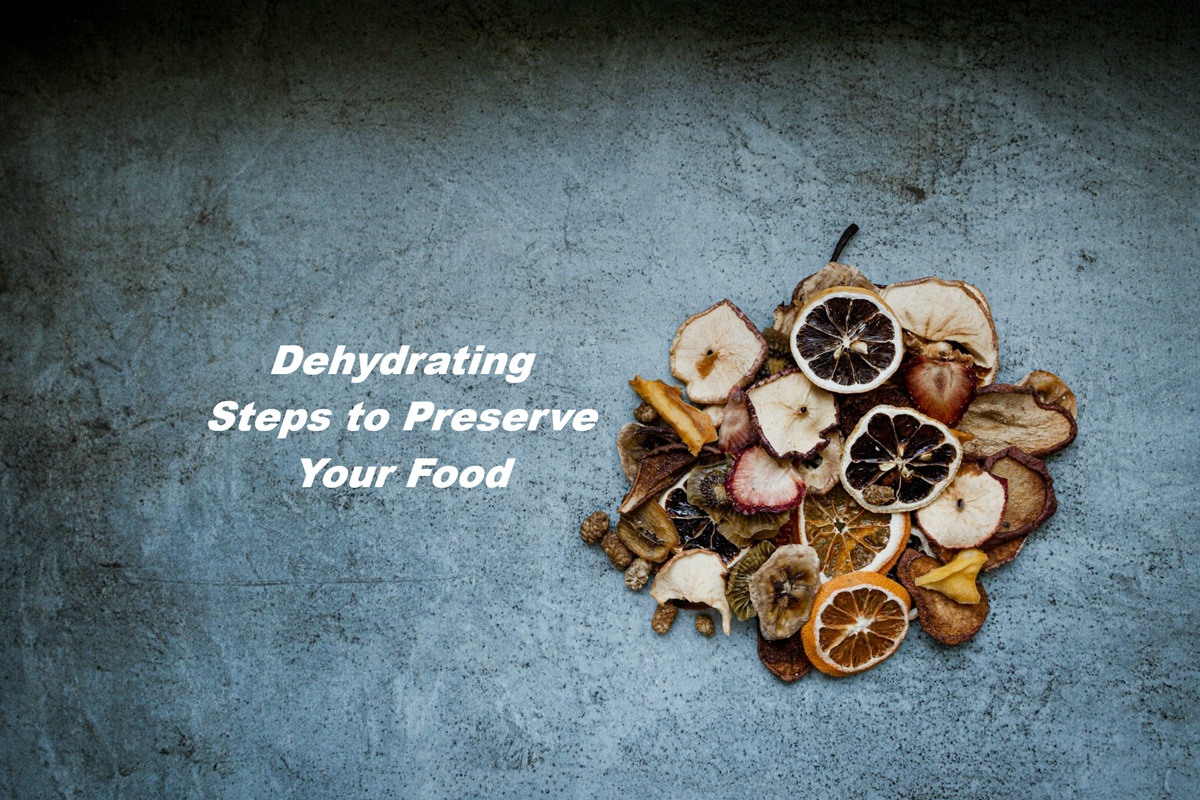
How to Dehydrate Food at Home: A Step-by-Step Guide to Getting It Right Every Time
Of all the preservation methods out there, dehydrating requires the least equipment, hands-on time, and counter space. A shelf full of jars filled with dried tomatoes, fruit, herbs, and vegetable flakes takes up a fraction of the room that canned jars do, doesn’t require refrigeration, and will keep for the better part of a year without much fuss.
We’ve already covered why dehydrating is worth it. This week, we’re going to talk about the process, so you know exactly what to do.
What Does Dehydrating Do?
Spoilage (the effects of mold, bacteria, and yeast) needs moisture to work. Remove enough water from food, and you change the environment those organisms depend on. Dehydrating uses low, sustained heat to pull moisture out of food slowly, leaving behind concentrated flavor, fiber, and most nutrients. The food is shelf-stable because there’s nothing left for microbes to work with.
Unlike canning, you’re not creating a vacuum seal or destroying organisms with heat. The main thing you can do wrong is under-dry, which leaves too much moisture in the food and makes it possible for mold to grow.
What You Need
A dehydrator is the right tool for this job. They come in two basic styles: stackable round tray models (Nesco or Presto) and box-style shelf dehydrators (Excalibur). Stackable dehydrators are cheaper and take up less space, while box-style models give you more even airflow and make it easier to dehydrate different foods at different temperatures at the same time. Either will work fine.
If you don’t have a dehydrator, your oven can stand in for it. Set the oven to its lowest temperature (usually 150 to 170°F), prop the door open an inch or two with a wooden spoon to let moisture escape, and put wire cooling racks over baking sheets so air can circulate under the food. It works, but it’s not as good as a dehydrator.
Beyond the dehydrator or oven, you’ll need a sharp knife or mandolin slicer, a cutting board, and airtight containers for storage (mason jars are great for this).
Prep Your Food
Good prep is important. There are three things to get right before anything goes on the tray:
- Wash and dry the food.
- Slice uniformly. Aim for consistent thickness throughout: about ¼-inch is the sweet spot for most vegetables and fruit. A mandolin makes this easy and fast (but watch those fingers).
- Pre-treat if needed. Some foods benefit from pre-treatment before they go in the dehydrator:
-
- Vegetables that benefit from blanching (green beans, broccoli, cauliflower, carrots, and potatoes) should be briefly blanched in boiling water first (the same process we covered in our freezer post).
-
- Fruits that brown (peaches, apples, pears, and bananas) should be dipped in lemon juice and water (1 cup lemon juice to 1 quart water) or treated with Fruit Fresh before going on the tray.
-
- Foods that need nothing (tomatoes, mushrooms, zucchini, herbs, berries, onions, garlic, and peppers) can go straight from the cutting board to the dehydrator tray.
Processing Your Food
Different foods dry at different temperatures. Using the wrong temperature is a bad thing. Too hot can cause the outside of the food to harden before the inside has dried, trapping moisture and creating a mold risk. Too low and you’re just extending the process unnecessarily. So, what temps should you shoot for?
- Vegetables: 125°F. Most vegetables will dry over 4 to 12 hours, depending on water content and slice thickness. Dense vegetables like carrots and beets take longer, while zucchini and summer squash are quicker.
- Fruits: 130 to 135°F. Fruit has more natural sugar, which makes it dry a little differently than vegetables. Count on 6 to 16 hours depending on the fruit and thickness. Tomatoes have high water content and can take 8 to 24 hours.
- Herbs: 95 to 115°F. Herbs are delicate. Too much heat drives off the volatile oils that give herbs their flavor and fragrance. Go low and slow, 1 to 4 hours, until they crumble when you touch them.
These times are ranges, not guarantees. Check periodically in the last few hours of the process rather than walking away and assuming it’s done.
How do you tell when it’s actually done? Let a piece cool to room temperature before testing (warm food always feels softer than it actually is).
- Vegetables should be brittle and crisp with no soft or spongy spots.
- Fruit should be leathery and pliable, not sticky or wet. When you cut a piece in half, the inside shouldn’t show any moisture.
- Herbs should crumble when you rub them between your fingers. If anything feels soft or moist, put it back in the dehydrator and check every hour.
Don’t Skip Conditioning
After your fruit comes out of the dehydrator, there’s one more step before it goes into long-term storage: conditioning. Vegetables that are fully brittle can skip this, but fruit almost always benefits from it.
Let the fruit cool completely, then pack it loosely into a glass jar and seal it with a lid. Over the next five to seven days, shake the jar once a day and watch for condensation. What you’re doing is letting any uneven moisture redistribute across all the pieces. If some pieces dried more than others, the wetter ones will share moisture with the drier ones, and you’ll get an even result. If you see condensation on the inside of the jar, the fruit isn’t dry enough. Put everything back in the dehydrator for more time.
Storing Your Dried Food
Once conditioned, pack your dried food into airtight containers. Mason jars are a great choice for this. Press out as much air as possible before sealing. If you have a vacuum sealer with a jar attachment, use it (it extends shelf life by removing oxygen).
Store your dried food in a cool, dark, dry place. Light and heat are the main enemies of dried food quality. Properly stored, most dried vegetables and fruit will hold quality for 6 to 12 months. Herbs can last 1 to 3 years. Always label your food with the date so you’re using the oldest stock first.
When you’re ready to use dried vegetables, rehydrate them in hot water (15 to 30 minutes for most things). Save the soaking water! Nutrients and flavor leach out into the liquid during rehydration, and you can use it as the base for soups or sauces.
Creating a Home-Grown Pantry
If you’re looking to go deeper on canning, our Canning 101 Online Course walks through everything in detail at your own pace. Our Dirt Rich Online Course puts all of these skills into a larger context in terms of creating the life you want to live. Browse everything available in the Stoney Creek Farm shop.
We’re also sharing tips and behind-the-scenes looks at what’s coming out of the garden on YouTube and Facebook, so find us there and let us know what you’re putting up.