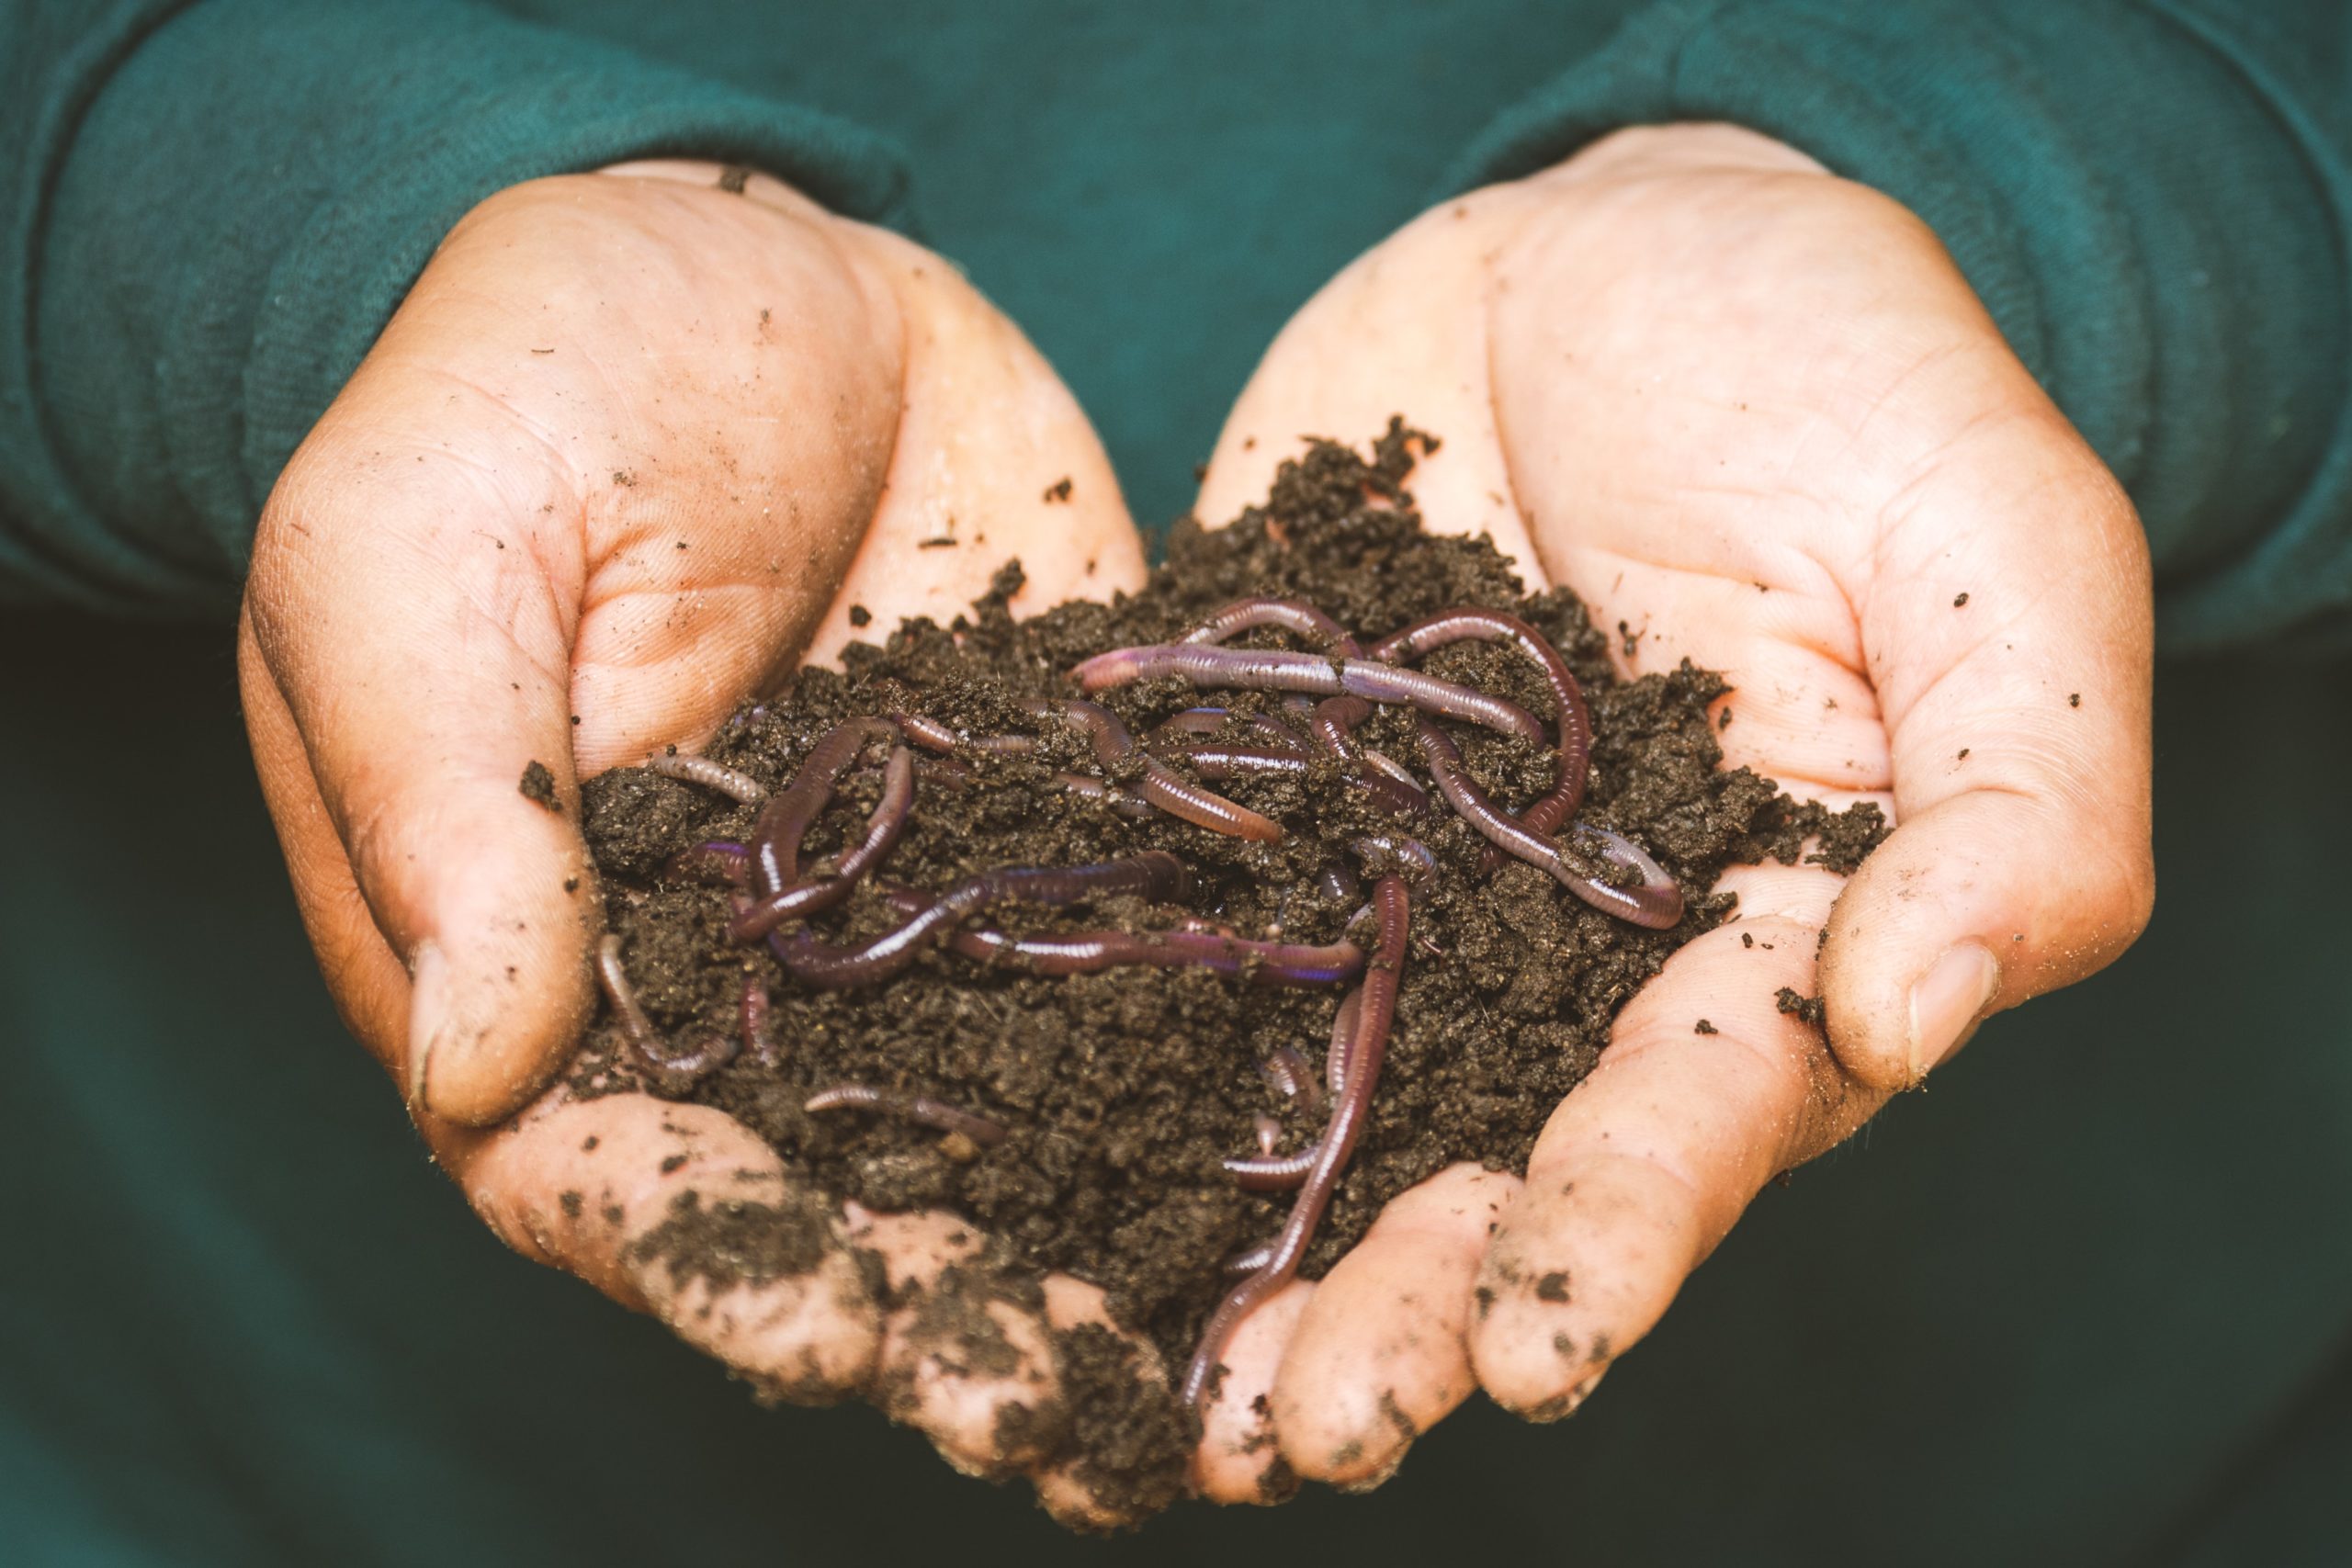
There’s regular composting, and then there’s vermicomposting—or using worms to help break down your kitchen scraps.
Vermicompost provides rich nutrients for your soil that your plants will love while also reducing your kitchen waste. And preparing your vermicompost is a fairly simple and inexpensive process.
Keep reading below to learn how to begin vermicomposting.
Pick the right worm bin.
Opt for a container that has more surface area than depth. Worms burrow relatively close to the surface—just 6 to 8 inches—so your container doesn’t need to be particularly deep.
The size of your container will depend on how much kitchen waste you produce each week and how many worms will call the container home.
Essentially, your worm bin needs 1 ft. of surface area for each pound of garbage you’ll bury each week.
A family of two generally produces about ½ lb of kitchen waste daily. For this, your bin should be at least 2 ft. x 2 ft, offering 4 ft. of surface area. Fill this with one pound—or 1,000—worms.
For each additional two family members, double that food waste output. So a family of four produces about 1lb of food waste each day. Your bin should be 3 ft. x 3ft., offering 9 ft. of surface area. Fill this with two pounds of worms.
The worm bin doesn’t have to be fancy—we’re not talking 5 star worm resorts here.
You can make your worm bin yourself using something as simple as a plastic bucket. The Spruce offers great instructions for building your own worm bin here.
You can also purchase worm bins rather than making your own. Backyard Boss offers a comparison of 5 popular worm bin options.
Prepare your bedding.
Make sure your worms are comfy with the right bedding.
Newspaper and cardboard are good options—you can choose either of these for bedding. Tear into small strips and pieces.
Bedding will need to be moist. This blog post describes it best when it comes to wetting your material:
“You want your bedding material to feel like a wrung-out sponge. A couple of drops should be released from the bedding if you squeeze a handful of it; if more water drips out, add a bit more dry bedding to get the moisture levels right. Once the bedding is right, dump it into the bin, fluffing it up a bit. You want your worms to be able to wriggle easily through the bedding. Break up any large clumps of bedding.”
Try to use dechlorinated water if possible. You can DIY your own dechlorinated water—fill some pitches of water and leave it out for a couple days for the chlorine to evaporate. Afterwards, use it to moisten your bedding.
Finally, “add a shovelful of garden soil or finished compost to your bedding material.”
Now your worm bin is ready for its new wiggly inhabitants!
Order your worms.
While your average earthworm does its duty of breaking down organic matter in your flower beds, this type of worm isn’t the best option for optimal vermicomposting.
Redworms are the go-to worm for vermicomposting as they are more efficient at breaking down organic matter that is early in the decomposition process.
Uncle Jim’s Worm Farm is a popular online option for ordering redworms specifically for vermicomposting.
Gardening Channel offers an extensive list of different places where you can order vermicompost worms.
To add your worms, place gently throughout the bedding and then cover your bin for a few days without feeding them so they can get acclimated to their new home. After 2 – 3 days, you can begin adding in your kitchen scraps.
Put your worm bin in the right location.
Your worm bin needs to be stowed in a place that’s not too hot, not too cold—between 55 and 80 degrees is juuust right.
Good vibrations? More like no vibrations—don’t put your worm bin near appliances like washing machines as this disturbs the worms.
Feed your worms.
The guidelines for feeding your worms is just about the same as traditional compost.
Green (nitrogen-based) waste:
- Fruits
- Veggies
- Coffee grounds
- Eggshells
- Plant waste
- Tea leaves
Brown waste:
- Newspaper
- Egg cartons
- Cardboard
Avoid extremely fragrant fruits and veggies like onions and garlic as the odor can be killer. An overdose of acidic fruit can also harm your worms, so stick to just citrus peels and not pulp.
Just like regular compost, avoid meat, dairy, and salty or oily foods.
How much to feed? This depends on how many worms are in your bin. According to Gardening Know How, “One pound of worms (about 1,000 worms) will eat about ½ to 1 pound of food scraps per day.”
Place your compost about 3-4 inches under bedding rather than leaving it at the surface to keep fruit flies away. Feed about 1 cup of kitchen scraps each time—depending on worm amount, this could be anywhere from once a week to every couple of days. To give your worms a helping hand, chop any bulky items like veggies into smaller pieces.
If you notice your bin is getting particularly smelly, this could mean you’re overfeeding, so adjust accordingly.
***
Follow these instructions and you should have nutrient-rich compost ready to be applied to your garden within 3 – 6 months! We recommend starting now to prepare for late summer and early fall planting.
Happy vermicomposting!