So you want to preserve your own healthy foods?
You’re not alone!
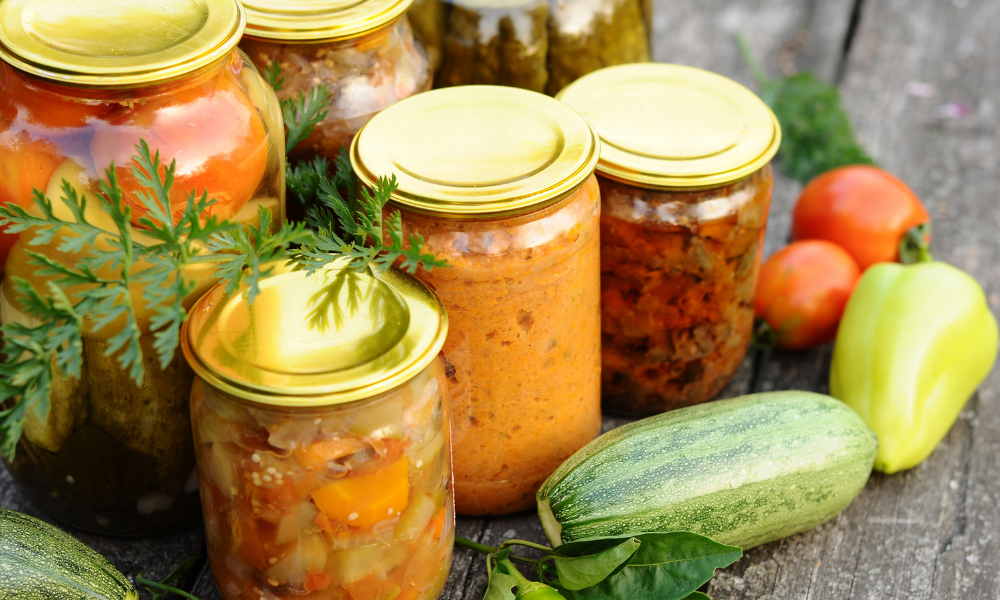
In recent years, many people have returned to the lost art of preserving food to reduce food waste, enjoy their garden bounty longer, and save money at the grocery store. But canning your fresh food is more than just sealing up a jar and putting it on your pantry shelf.
There three most common preservation methods are pressure canning, water bath canning, and blanching before freezing.
Properly canned items (both pressure canned and water bath canned) can last for several years but they lose nutrition value and texture over the years. The USDA recommends using your preserved items within a year for ultimate freshness.
It’s incredibly important to choose the right canning method to prevent botulism. Botulism is a rare, but potentially deadly, foodborne illness. Always follow USDA guidelines when home canning your food!
This is what I do based on both food safety and taste:
Pressure Canning:
Pressure canning is a requirement for food with low-to-no acid or sugar, like almost all veggies (except tomatoes), milk, all meat and seafood. Low acid foods are those with a pH level higher than 4.6. Because of their lack of acid, these types of foods do not naturally keep bacteria at bay. These foods are most commonly linked to botulism from home canning, so pressure canning is the only recommended method for safely canning these items.
A pressure canner heats foods to a high temperature, between 240 F – 250 F, to kill botulinum spores. It’s not pressure that kills the bacteria, but the heat itself. Plain ‘ole boiling water (generally around 180 F – 212 F) simply won’t cut it for low-acid foods.
All vegetables need to be pressure canned except for most types of tomatoes:
- Asparagus
- Beans or Peas
- Beets
- Carrots
- Corn
- Mushrooms
- Okra
- Peas
- Peppers
- Potatoes (including sweet potatoes)
- Pumpkins
- Winter squash
- Soup
- Spinach
- Succotash
- Tomatillos
Check out the home canning guide from the USDA that offers directions for canning vegetables of all varieties.
Remember that pressure canning vegetables tends to make them soft, so these are always a tasty option for making your favorite soups and stews!
Other low-acid foods that should be pressure canned include:
- Milk
- All meats
- Seafood
Water Bath Canning:
Water bath canning is used for produce that has high acidity (a pH level lower than 4.6) or sugar.
Food items you can water bath can include:
- Tomatoes (with a pH lower than 4.6—some tomato varieties can have varying pH levels)
- Fruit
- Jams
- Jellies
- Pickles
The higher levels of acidity and sugar helps to keep these foods safe from dangerous bacteria.
So why water bath can if the acid is supposed to keep foods safe?
Water bath canning consists of submerging your sealed jars into boiling water for a specific amount of time, dependent on the type of food and jar sizes.
By water bath canning, you kill off any lingering bacteria, drive out oxygen that could shorten the shelf life of your preserved foods, and seals off the jar to preserve the foods. Additionally, when pickling foods, water bath canning will drive the acid (like vinegar) into the food you are pickling. It’s an important step to the longevity of your canned goods and to take that extra step to prevent bacteria.
The Ball Canning Manual—a great book I constantly refer to!—recommends adding lemon juice to tomatoes when water bath canning in order to increase the acidity. I personally don’t do that, so it takes me longer to water bath can tomatoes.
Blanching:
Blanching your vegetables prior to freezing is a must to retain the flavor and texture of your veggies. The process involves briefly heating veggies to a very high temperature in boiling water, then quickly cooling them to stop the cooking process. It also helps to reduce the loss of vitamins during freezing and cleans them of any lingering dirt or organisms.
Most items can be frozen for up to a year, though it will depend on each food type. This article lists out freezing times for different food types.
I blanch before freezing:
- Squash
- Zucchini
- Greens
- Okra
- Peas
The items I do not blanch before freezing are corn and berries.
For corn, I shuck and clean the silks off and then bag them up for the freezer. It’s important to do this within 48 hours of picking the corn, so that the sugars are still high.
For berries, I wash these, drain well, and lay them out on a cookie sheet in one layer. I put these into the freezer until they are frozen solid, then I remove them from the cookie sheet and put them in freezer bags. This prevents the berries from sticking together in the bag.
More Canning Resources:
- 5 Items Needed to Get Started Canning
- Principles of Home Canning from the USDA
- USDA Complete Guide to Home Canning
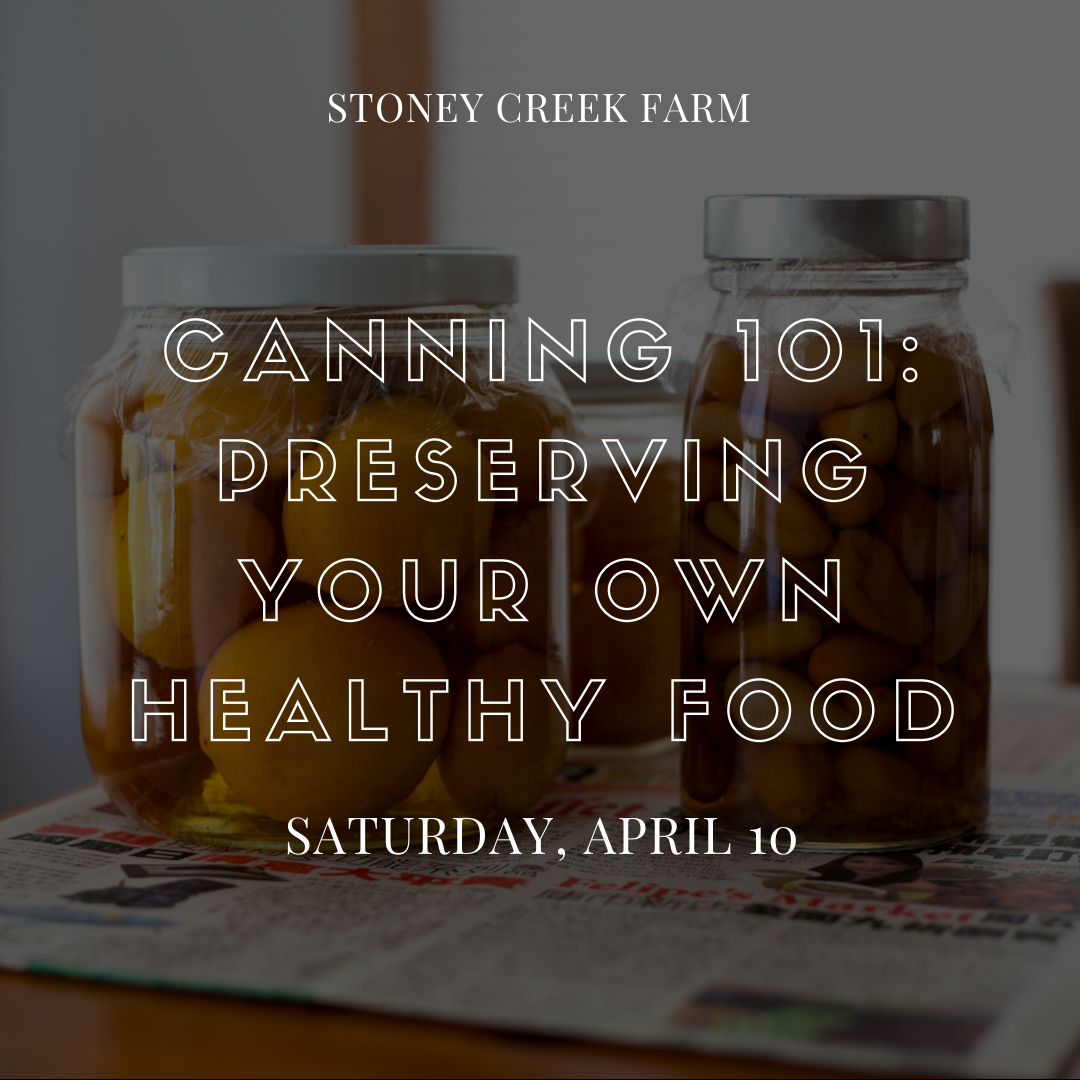
Canning 101 Class
If you’re local to Middle Tennessee, I invite you to join me on Saturday, April 10, 2021 for my popular Canning 101 Class, right here at Stoney Creek Farm in Franklin, TN.
I’ll show you the basic steps for:
- Pressure Canning
- Water bath canning
- Blanching
We’ll also discuss the processes for preserving jelly & jams, pickling, and drying herbs and fruit.
You’ll leave the class excited and prepared to stock your own pantry and freezer with your own homegrown, preserved food.
This is one of my most popular classes and always sells out—so don’t wait to grab your ticket!