Using Repurposed Materials to Build a Fall Fire Pit
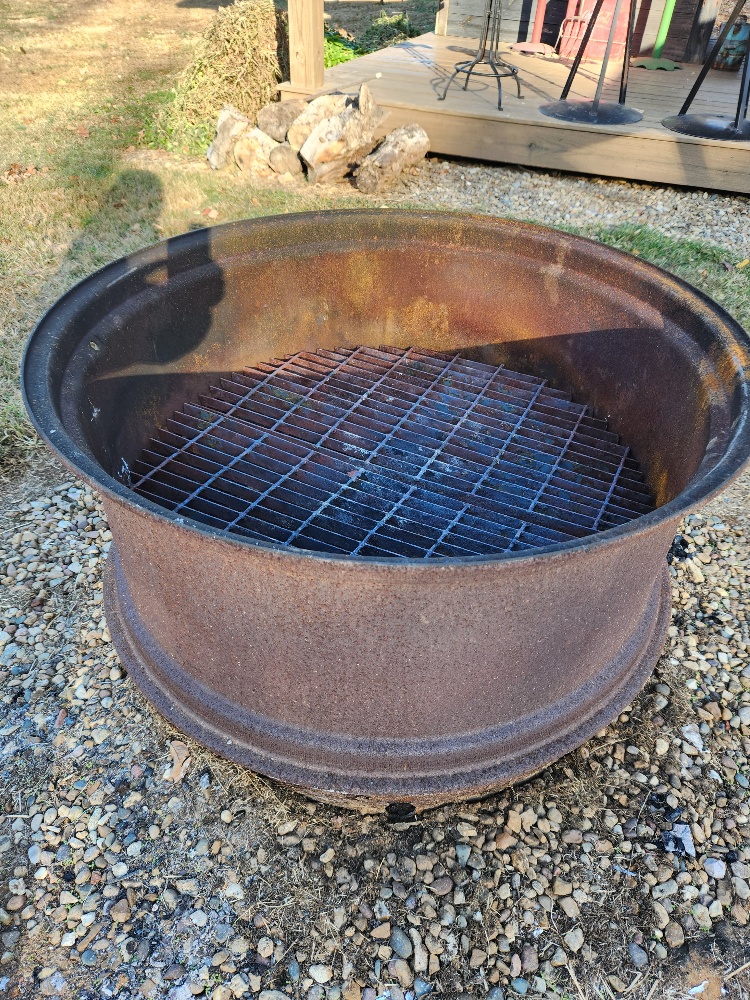
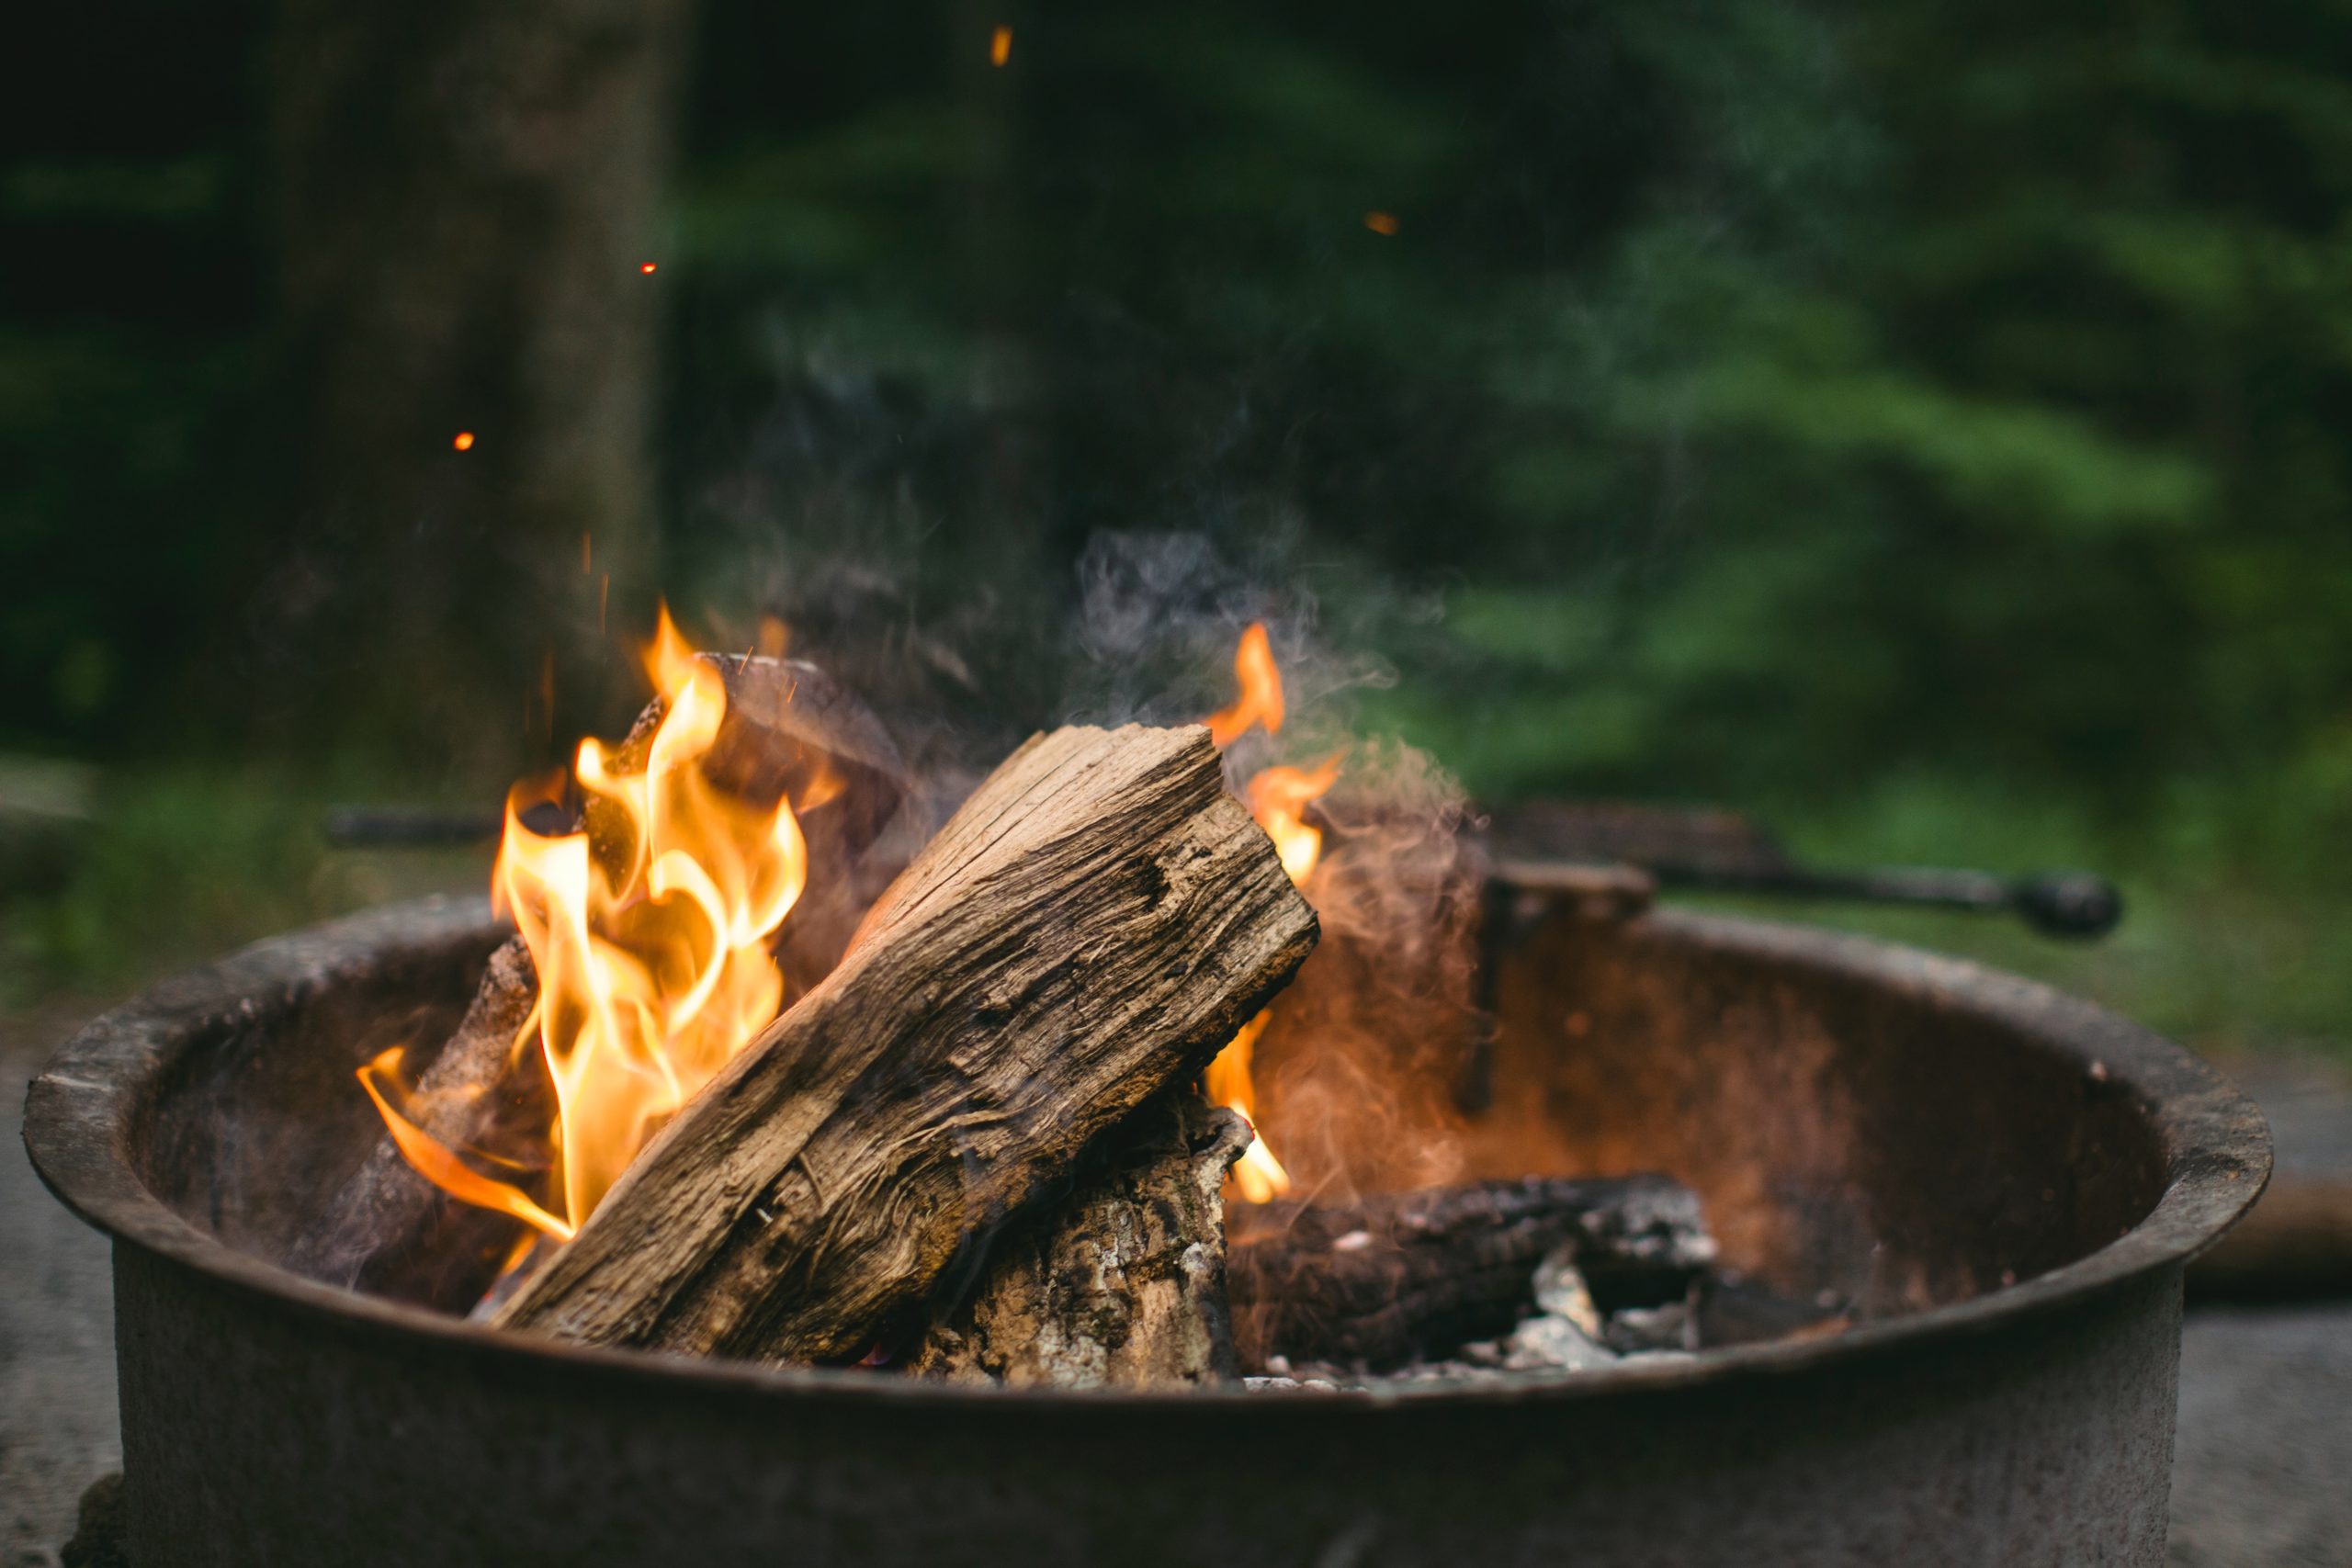
Turning leaves, a chill in the air, cozy sweaters, warm drinks and soup… okay, and maybe some pumpkin spice. It’s fall, y’all! And what better way to embrace the season than by gathering your friends and family around a fire pit for an evening of conversation, laughs, and memories? Olin decided to build a Fall Fire Pit out of an old tractor wheel and it has served us well for over 10 years.
Don’t have a fire pit, or don’t want to spend an arm and a leg on a brand-new one? No worries—we’ve got you covered with the how-to for making one out of repurposed materials! Then, your firepit becomes a talking piece, too. Let’s jump right in.
Materials That Work for DIYing a Fire Pit
Of course, not everything is going to work to hold fire after fire. There are plenty of materials you probably have lying around that will work great!
- Tractor Wheel (Olin’s fire pit)
- Old pot (copper, iron, ceramic)
- Wheelbarrow
- Steel barrel
- Washing machine tub
If you don’t have any of these lying around, ask your neighbors, hit up a thrift store, or even go by the local dump! You never know what you’ll find.
For each of these, you can even add an old grill grate on top and use it as a barbecue!
Tractor Wheel Fall Fire Pit – Easy Build
Olin found an old tractor wheel at his family’s farm and repurposed it into an amazing fire pit by adding a grate 6 inches above the ground. The wheel had two holes on the sides of the wheel, but if your wheel does not, be sure to add a couple of holes for airflow.


Pot Fire Pit
Many people have large pots that were passed down by family members. What a cool way to put an heirloom to good use, especially if you don’t have space for it inside your home!
- Bring your pot outside and clean it thoroughly.
- Surround it with large stones or cement bricks (repurpose these, too, for extra DIY points!). This keeps your pot in place.
- Fill with kindling and wood scraps.
- Enjoy your new fire pit!
It’s as easy as that!
Washtub Fire Pit to Build for Fall
Washing machines all die after a while… but when your does, don’t throw out the tub! Keep it to turn into a killer fire pit.
- Wipe it out and place it on the ground.
- Make a tight circle around the pot with bricks or stones to prevent it from tipping over.
- Add your fire materials.
- You’ve got a washtub fire pit!
Voilà! You did it!
Wheelbarrow Fire Pit
Not only is this a great way to utilize an old, clunky wheelbarrow, but it’s also a unique accent piece that’s sure to be different than all your neighbors’ fire pits!
- Place your wheelbarrow in the desired spot and clean it out.
- Surround the wheel and the legs with pieces of brick or rock to keep it in place and steady it. However, if your wheel still works, this fire pit can be moved all over your property! Talk about useful.
- Remove any rust, and maybe give it a paint job to up the visual appeal.
- Add your sticks, kindling, and logs.
- If your wheelbarrow is large, consider adding a permanent grate over half for part barbecue/part pit!
Get ready for company—everyone is going to want to hang out around this one!
Build a Steel Barrel Fall Fire Pit
You’ll need some tools for this project to cut the barrel in half and make the edges safe, so make sure to collect everything before beginning. If you want to be able to move your steel barrel fire pit, some horseshoes come in handy.
- Clean out your steel barrel. Usually, these harbor a good amount of grime, and you want your fire to burn as cleanly as possible.
- Measure about 18” from the bottom, and cut your barrel with a metal saw. You can use welding equipment to soften the edges so that they’re safe and smooth.
- Using the saw, cut three or four heat vents around the bottom. About 7-8” is a good size. Weld these openings, too.
- Place two horseshoes at opposite ends of the barrel and weld them in place so you can easily move your fire pit. If your barrel is very large, weld two pairs of handles and get a buddy to help you move it each time.
- If you want to make your pit more visually appealing (albeit permanent), stack some bricks or decorative stone around the edge and up the sides. This will keep it more stationary and make it decorative at the same time!
This pit will keep you warm and toasty, as it will hold a lot of burning material!
Repurposed Pond Pit
This one will make people stop and take a second look! If you don’t care for fish on your property, or you have critters that kept eating them, here’s an idea of what to do with the space. Plus, ponds are usually already lined with rocks so that saves you a step!
- Clean out your pond. Make sure that there isn’t a PVC, rubber, or other flammable liners at the bottom. You want it lined with non-combustible rock.
- Layer sand at the bottom to even out the surface.
- Add more rocks if you need to bring the bottom level up a few feet.
- Add your wood and bring over some chairs!
Ta-da! Old pond, new fire pit.
Options for Burning Material
Perhaps you want to burn something besides logs or old scrap wood. You can source gel canisters that are specifically made for fireplaces or low-combustion pressed wood. These are great for smaller fire pits where it might be difficult to fit larger pieces of burning material. Otherwise, real wood or even charcoal is great in any of these pits.
Always burn safely! If you live in a dry area or one that is prone to fires, be sure to check your local restrictions and only burn when it’s safe and cleared to do so. Also, a fire pit is a great way to teach your family about fire safety for future camping experiences.
Conclusion
Go ahead—pat yourself on the back. Even if it’s preemptive, you know this project is going to turn out very cool. If you’ve got multiple items that can be repurposed into firepits, think about making some as holiday gifts for your loved ones!
For more creative DIY inspiration, check out our YouTube channel and watch what Olin does with all the goodies lying around Stoney Creek Farm. We’d love for you to subscribe and hang out with us there!


