There’s nothing quite like enjoying your very own homegrown veggies. But that juicy tomato and succulent squash didn’t come without hours of your time (and, likely, buckets of sweat!) invested in your garden.
You want to eat your garden bounty—not have your garden eat up all your time.
That’s why in today’s post we’re covering 5 time saving tips for vegetable gardeners.
1. Choose low maintenance vegetables.
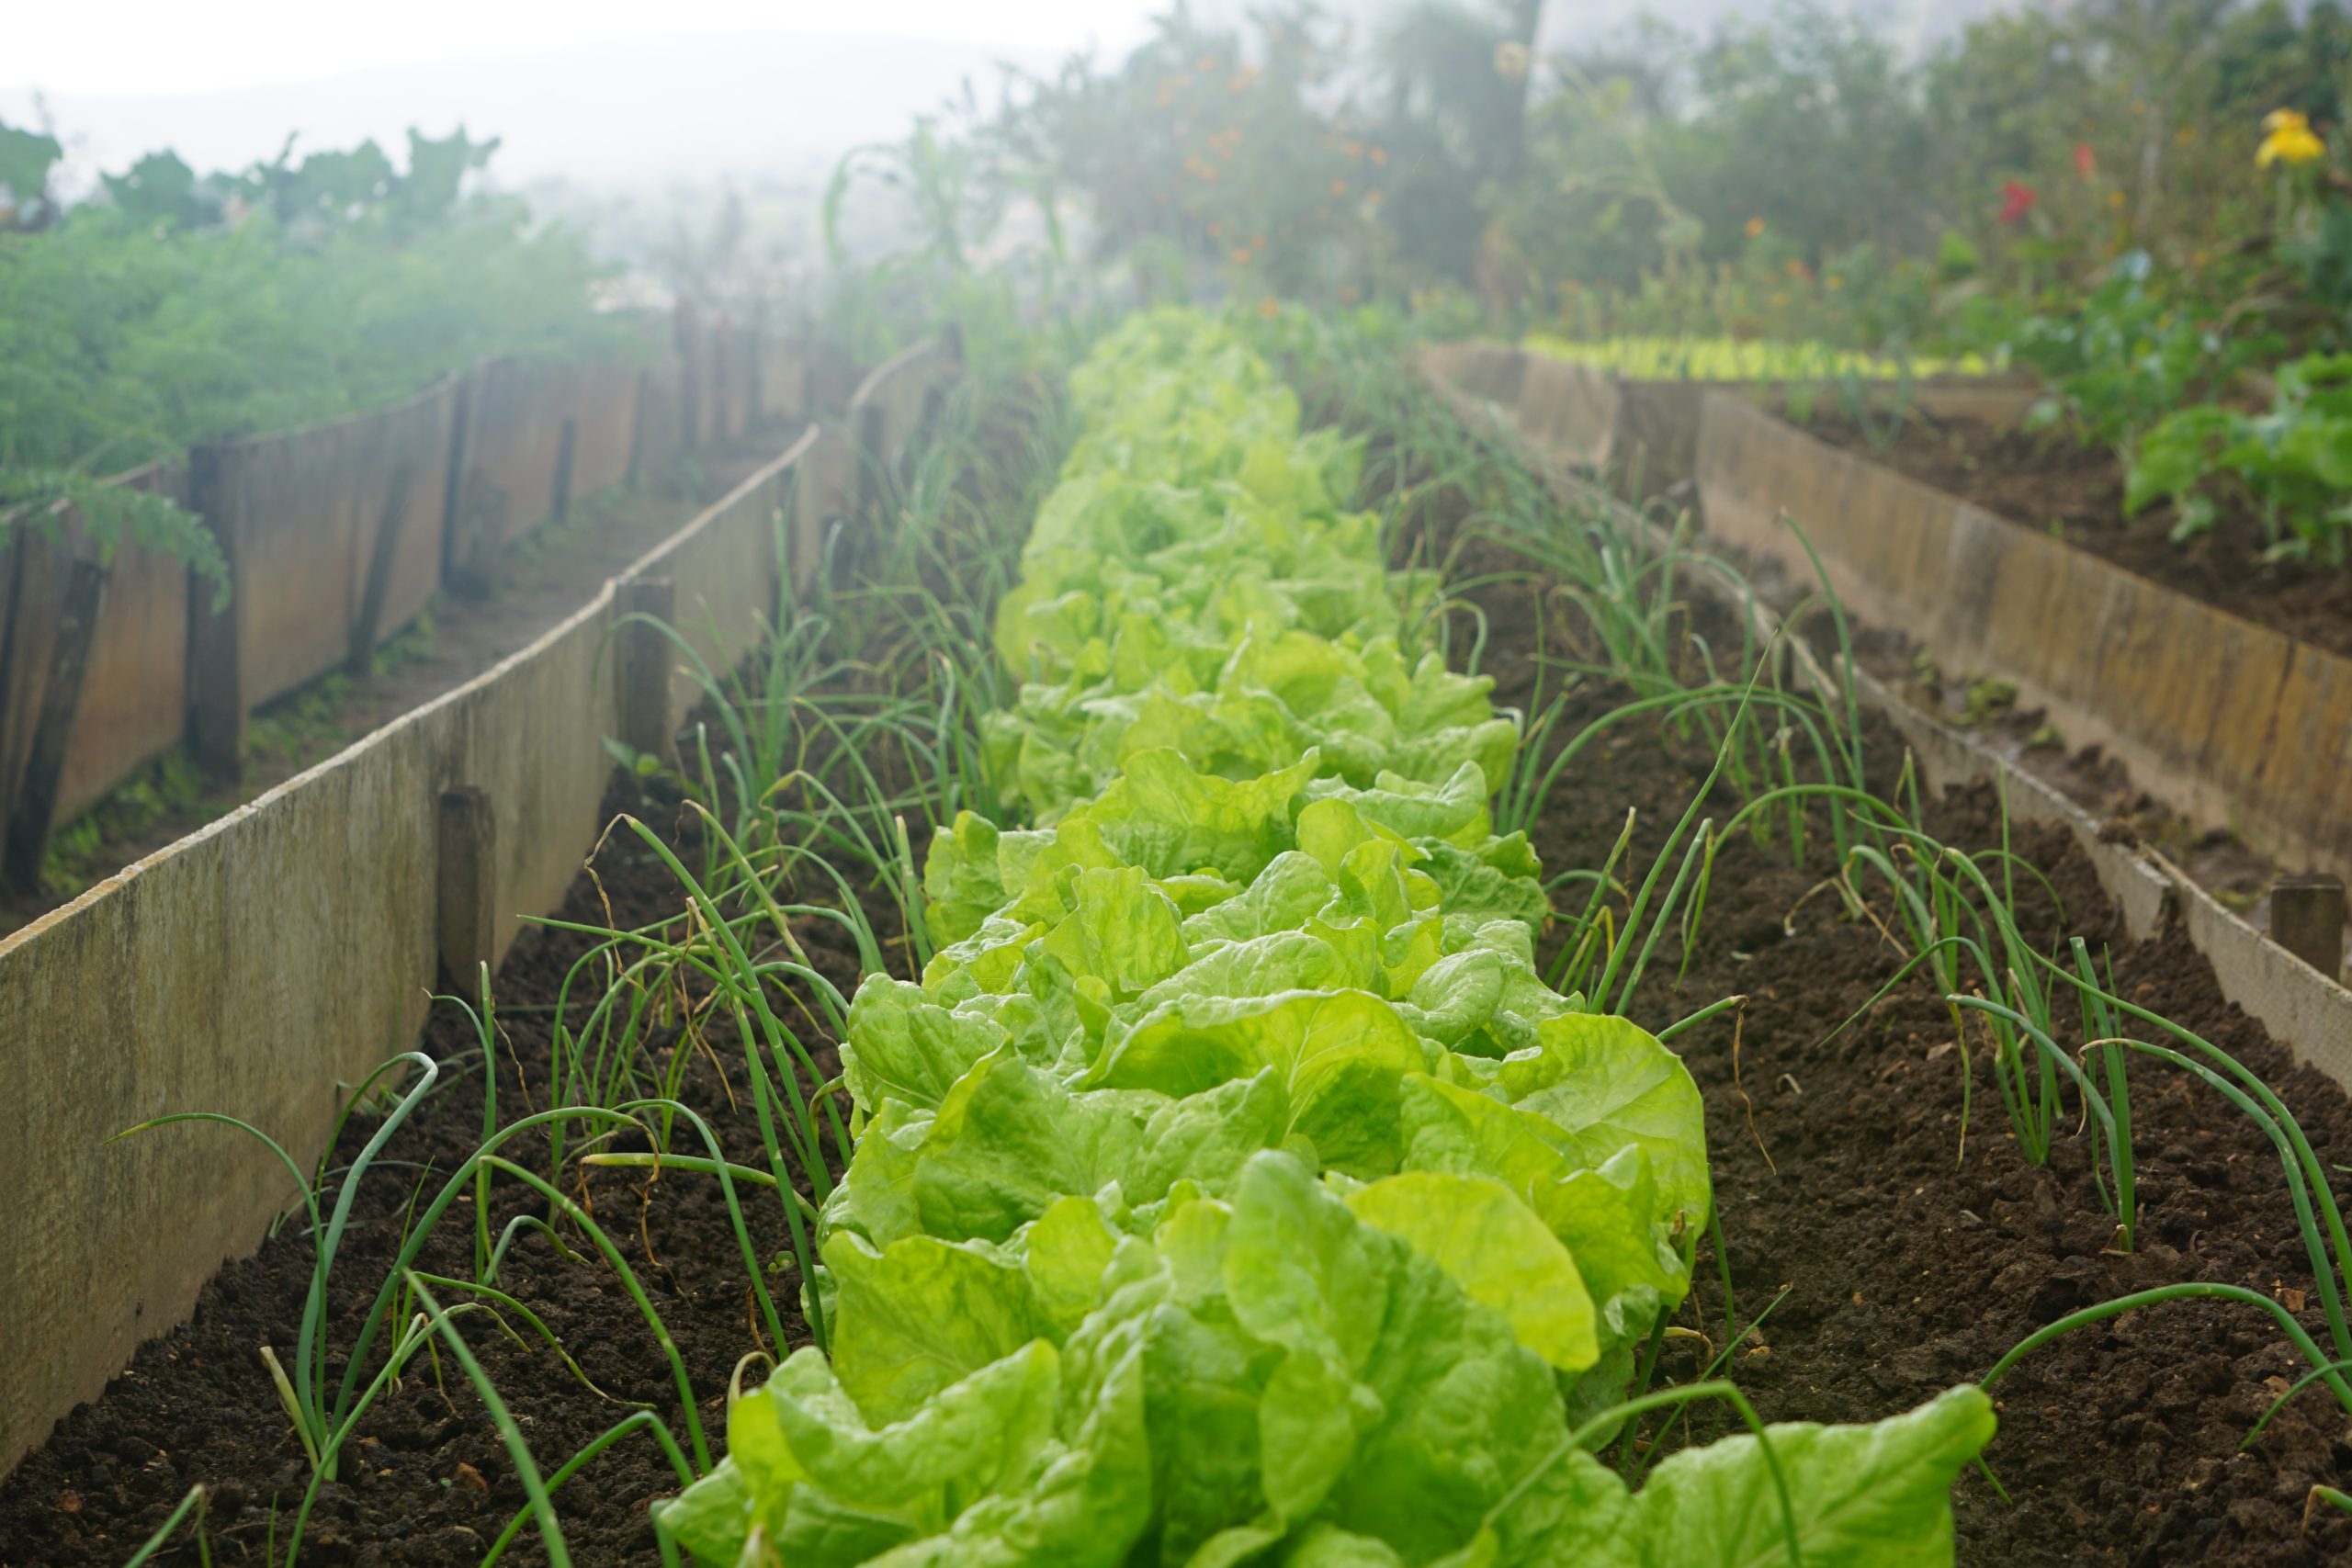
When picking produce to grow in your garden, opt for the “easy” ones: we’re talking tomatoes, peppers, potatoes, lettuce, spinach, zucchini, and yellow summer squash.
Other crops, like broccoli or eggplant, are a bit more finicky and will require more work—and time—on your part to produce just the right conditions for them to grow well.
RELATED READING:
- 10 Savory Recipes for Your Summer Squash & Zucchini Bounty
- 11 Common Tomato Diseases: How to Organically Prevent & Treat for a Hardier Tomato Harvest
2. Plant perennial crops: the gift that keeps on giving.
Save time by planting perennial crops in your vegetable garden.
For perennial vegetables, choose from:
- Artichoke
- Asparagus
- Garlic
- Rhubarb
- Spinach (some varieties)
- Sweet Potato
- Yams
We grow two perennial veggies at the farm: asparagus and garlic. Some varieties of broccoli are also perennial, but broccoli tends to be a more difficult plant to successfully grow, so pick your time saving battles wisely.
Many herbs are also perennial, including:
- Basil (not all varieties)
- Chives
- Fennel
- Lemon Balm
- Mint
- Oregano
- Parsley
- Rosemary
- Sage
- Thyme
Although Cilantro is not considered perennial, it reseeds and propagates itself if you leave it in the same raised bed each year.
We grow all of the perennial herbs listed above at the farm except fennel.
Keep in mind, however, that most perennial vegetables take their time when it comes to producing veggies. Generally, it takes 3 – 5 years before you’ll get your first bounty.
Many perennial herbs can also be invasive, so you’ll need to spend time keeping those in check before they stage a mutiny over your entire garden (there’s only so much mint a household needs!).
RELATED READING:
3. Automate this daily chore.
No need to drag the water hose around your garden every day when you can automate this chore for you! Consider installing sprinklers or a drip irrigation system to take over your watering chores.
Sprinklers are a more common watering solution for the average gardener; however, sprinklers can waste water by distributing it over a large area.
A drip irrigation system, on the other hand, waters your plants right at soil level, reducing water waste. This gets a big sustainable A+ from us.
If you’ve got some handy carpentry skills you’re ready to put to use, learn how to build your own drip irrigation system here
4. Cut out the digging altogether with straw bale gardening.
Straw bale gardening is the process of using straw bales as “containers” for your garden. Think of it like a raised bed garden, only you won’t actually have to spend time building a raised bed.
There’s no soil necessary; the straw bales act as the growing material for your plants. This means no need for time-consuming soil tilling.
The decomposing straw creates a cozy warmth for your plants’ roots, allowing the growing season to start earlier in the springtime and extend later into the fall.
You’ll also spend less time weeding, since straw bales are less likely to have weed seeds sprout (and if they do come up, they’re easier to remove).
However, you will need to water more frequently, as straw dries out more quickly than soil. You’ll also need to fertilize your straw bale garden to add in the nitrogen and other nutrients that plants need to grow (and which straw bales lack).
Wheats, oats, rye, or barley are your best straw bale options. But beware—do not use hay! This is food for livestock and contains the entire stalk and seed heads, whereas the straw bales contain only post-harvest bare stalks.
To learn more about straw bale gardening, check out this in-depth resource, as well as the book Straw Bale Solutions by Joel Karsten, the man who popularized the straw bale gardening technique.
RELATED READING:
5. No thank you, weeds.
We all know that the biggest time sink in gardening is going to battle with those pesky weeds. Create an armor for your garden—and cut down on time spent weeding—by layering mulch.
Mulch protects your garden from rogue weed seeds that may land on the mulch by preventing the seed from reaching the soil below. It also blocks out the sunlight that weeds below the mulch need to grow.
Choose from these organic mulch options:
- Wood chips
- Shredded bark
- Grass clippings
- Leaves
- Straw
Wood chips and bark will be your best time-saving option, as these won’t break down as quickly, so you won’t need to replace this type of mulch as often.
However, grass, leaves, and straw do contain weed seeds, so as these organic materials break down and add the weed seeds to the soil, you’ll need to continue adding more mulch to prevent sunlight from reaching the soil and allowing the seeds to grow.
When applying mulch, aim for a 3 inch thick layer. Be sure to allow for space between your mulch and plant stems and trunks—generally 1 – 2 inches.