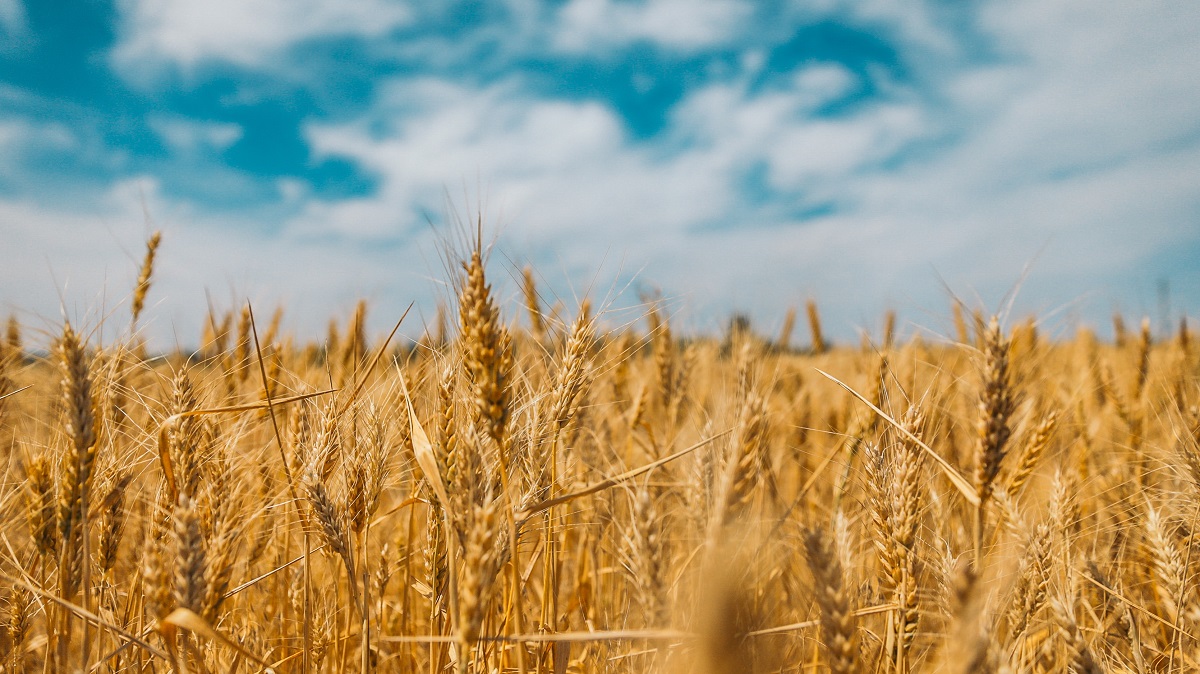
Learn to Mill Your Own Grain
It’s convenient to walk down the baking aisle of the grocery store and pick up a bag of flour. However, as prices continue to rise across the board, more people seek skills pushed to the wayside. Learning to mill your grain is an excellent way to live more sustainably and self-reliantly. It’s also easier than you might think!
The earliest milling practices date back to 6700 B.C. Humans have been making various types of flour for thousands of years. You can do it, too, in the comfort of your own home. Wave goodbye to the grocery store and say hello to the fresh, delicious taste of your own flour. When you do the work yourself, you can experiment with flavors, try new things, and reach for ancient grains you might not find during an ordinary shopping trip.
Use this article as a guide to get started. You’ll get a few tips, tricks, and ideas for milling your own grain. By the end, you’ll know that you can do it, too!
How Does Freshly-Milled Flour Compare?
Setting realistic expectations is important when you pick up a new skill or change the way you’re doing things. That’s true of milling, too. Milling can be simple and more affordable than buying from the store, for example, but consider all the angles before you dive in.
Cost
If you raise your wheat or the other ingredients you plan to mill (like corn or oats), you have a readymade supply. However, if you have to purchase the ingredients, costs add up. Certain areas have inexpensive wheat berries. In other locations, prices vary considerably. You could pay under $2 for a pound of wheat berries or closer to $5. That’s quite a difference.
In other words, milling your grain could be less expensive than purchasing a bag of flour, but there’s no guarantee. Cost alone shouldn’t be your only motivation for milling, but it can certainly work in your favor if you have a steady, inexpensive source of grain.
Behavior
If you’re accustomed to baking and cooking with grocery store flour, expect to make a few adjustments for freshly-milled flour. Here are a few of the key differences.
- Absorbency – Fresh flour absorbs more water than the store-bought variety. Expect to need a little more water for each recipe.
- Fermentation – Milling flour yourself results in quicker fermentation. If you’re making bread, this is particularly important. There are a few reasons for this. The flour is sometimes warm when it’s fresh out of the mill. It’s also not as consistent as purchased flour. While these things aren’t necessarily deterrents, they do mean you should keep a closer eye on your dough!
- Expiration – If you keep your fresh flour at room temperature, it’s only good for around three days. It freezes for up to six months, however, so consider your storage method ahead of time. For comparison, grocery store flour lasts anywhere from three to eight months at room temperature.
Experimentation
One of the biggest perks to milling your own grain is that you can experiment! Certain grocery stores sell a wide variety of flour types, but anything outside the standard white or whole wheat types can be quite expensive. If you mill your own, however, you can try out rye, quinoa, lentil, corn, or whatever your heart desires. You’re free to make mistakes and find what works for you, your diet, and the recipes you want to make.
Four Milling Methods
If you’re interested in milling your own grain, here’s a quickstart guide. There are a few ways to go about it, each with its perks and drawbacks. Consider how much of an initial, upfront investment you’re willing to make and how seriously you want to take the endeavor. Milling four for the occasional delicious loaf of bread is quite different from milling enough to make every meal and recipe.
Here are the most common ways of milling your flour at home. Decide which one sounds right for you and dive in!
Coffee Grinder
Coffee grinders are an excellent, beginner-friendly way to try milling your grain. You can purchase a coffee grinder anywhere from $20 to $30, minimizing upfront costs. Don’t expect to crank out bulk amounts of flour with a smaller coffee grinder, of course, but it’s a great way to test things out.
The process is simple enough. Pour your wheat berries or grain of choice into the grinder and turn it on (assuming it’s an electric grinder) until you get to your desired texture. Sift them once you’re finished so you have a uniform, ready-to-use flour.
Food Processor
This one won’t work for everyone. Get a strong food processor to handle flour. Don’t grab the one you use every day, as the blades aren’t typically strong enough. Some food processors produce very coarse flour, too. They’re designed for chopping and cutting, not necessarily producing fine flour. Combine food processors with other tools like blenders to produce the right texture if that’s all you have on hand.
Blenders
Much like coffee grinders and food processors, the process is straightforward. Add your grains to the blender and turn it on. You’ll likely need to use a high-speed setting.
Blenders shouldn’t be your long-term solution to milling, though. While they do work, the process will eventually damage your machine. Occasionally making a cup or two of flour is one thing, look for other options if you want to make large quantities of flour.
Milling Machine
Purchasing a home-milling machine is the best way to make your flour. It’s also the most costly option on the list. Home milling machines typically cost about $200 but can go quite a lot higher than that. If you’re serious about milling and intend to mostly or entirely replace store-bought flour, though, it’s your best option.
You can purchase hand-cranked milling machines, electric millers, and even stand-mixer attachments to get the job done. Grain milling machines let you achieve the texture and quantity you want, albeit at a higher price tag.
Final Thoughts
Milling your own grain gives you control over the food you eat. You control how much you make and what goes into it. If you’re trying to live sustainably or take a more hands-on approach to life, give it a try. If you happen to live in the area near our farm, join us for the Healthy Whole Grain Bread Class with Judy Felts. She is an expert on milling flour for her own bread and provides the most delicious whole-grain bread you have ever tasted! For similar tips and tricks, check out Stoney Creek Farm, join us for classes and events, and follow us on YouTube!