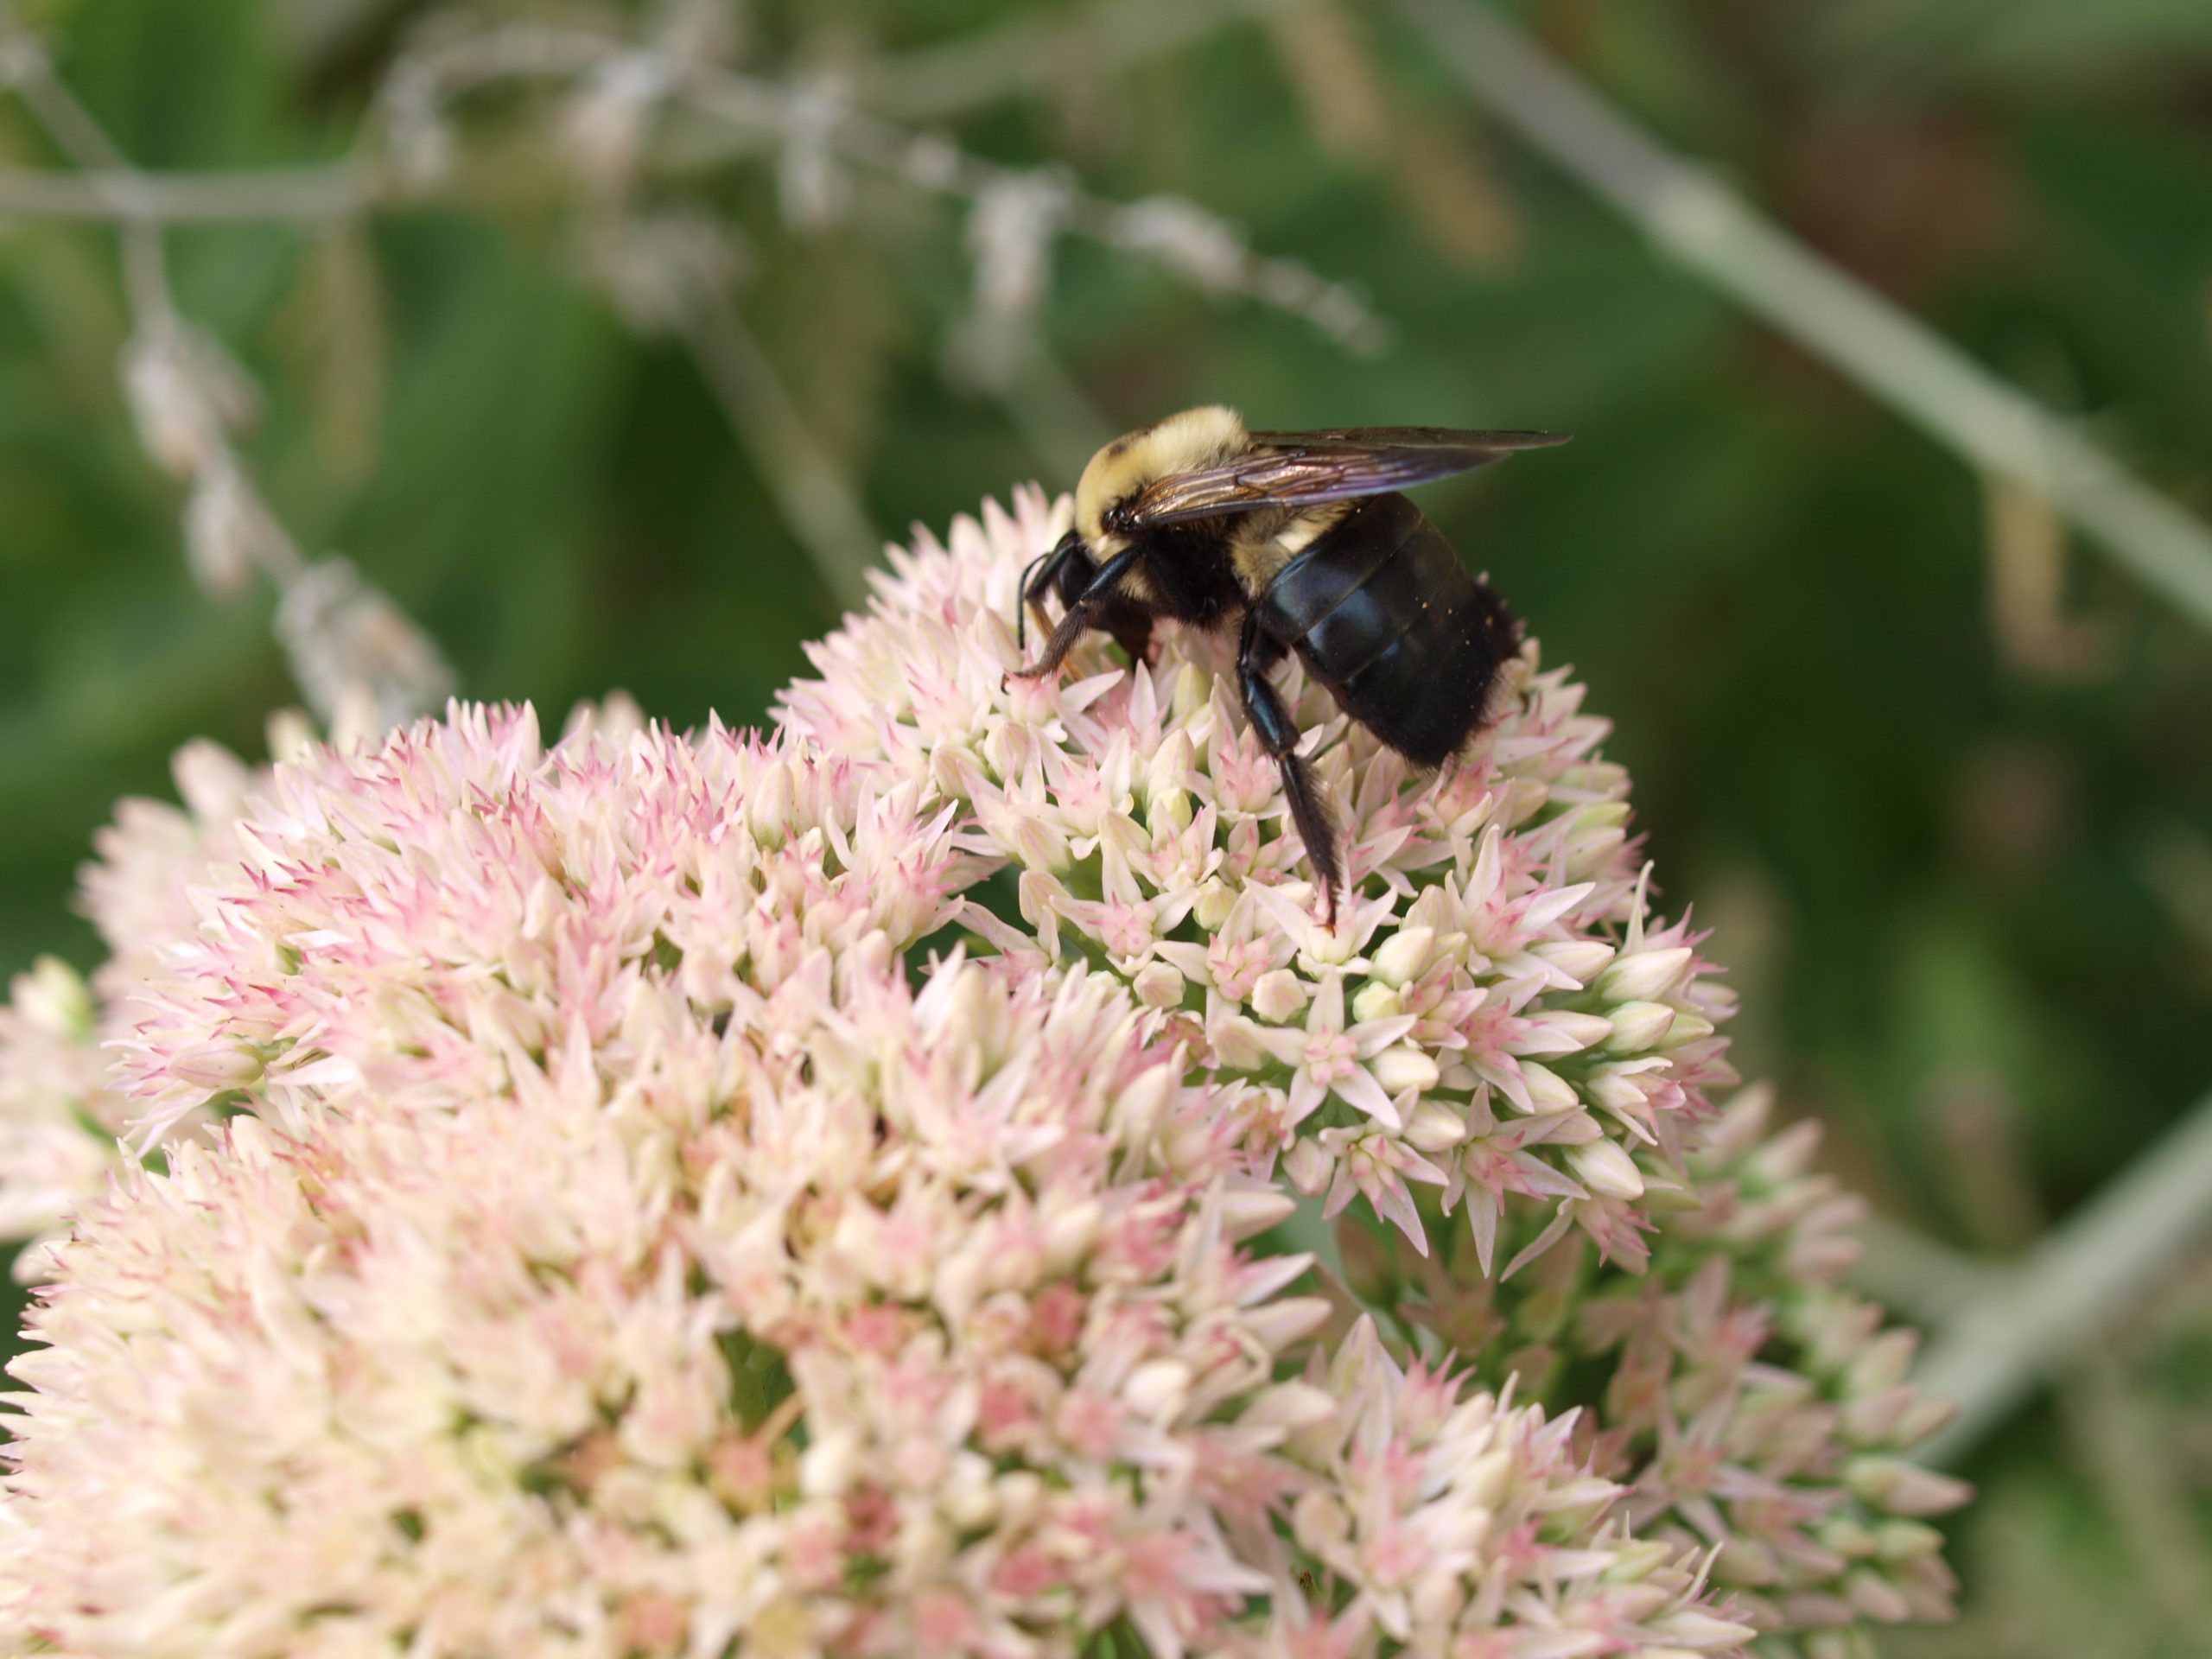
Carpenter Bees are industrious insects and can drill hundreds of holes in the wood on your home and barn in search of a place to lay their eggs.
The damage can wreak havoc on your homestead.
But before you turn to chemical-based insect killing sprays, there is a natural way to eradicate your carpenter bee problem: homemade carpenter bee traps.
When a carpenter bee enters one of the side holes of the wooden trap, they are drawn toward the light in the center hole in search of the exit. However, it’s just a ruse: once they reach the source of the light (the mason jar), they are then trapped within the jar and unable to escape.
Once the jar is full, then you can empty it. When emptying the jar, leave a few bees in there to help attract more. The bees on the outside can sense the other bees within the trap, so they are attracted to it.
These traps are inexpensive to make and can be created in 10 minutes or less. Keep reading to learn how to make your own homemade carpenter bee trap.
If you prefer visual instruction, check out our Youtube video.
Carpenter Bee Trap Supply List:
- Scrap 4 x 4 lumber
- Saw
- Drill with a ¾ inch paddle bit and ½ inch paddle bit
- Block of wood (size?)
- Mason jar with lid
- Hammer
- Screw driver
- Snips/shears cutting tool
- Short nails with heads
- Small metal chain
- Staple
Carpenter Bee Trap Instructions:
Step 1: Let’s begin.
Begin with a piece of 4 x 4 inch lumber. We use scrap wood for our carpenter bee traps.
Step 2: Cut your lumber.
Using a saw (can be electric or hand saw), cut one side of your wood block at a 45 degree angle. The other sides of the block should be at least 4 inches thick. This allows for enough room to drill holes into the block.
(Note: we have seen some people make their carpenter bee traps without an angled top; instead, the wooden portion of the trap is simply a square block. This appears to work just as well. Make sure that each side is at least 4 inches thick.)
Step 3: Drill base hole.
Using a ¾ inch paddle bit on your screwdriver, drill a hole into bottom of the block. (The bottom of the block is opposite the angled in.) The hole should NOT go all the way through the block, but stop about mid-way through it.
Step 4: Drill 3 side holes.
Switch to ½ inch paddle bit on drill—this is about the size of the hole that carpenter bees drill themselves. On the side of the block, drill up at a 45 degree angle, with the aim to meet that center hole that you’ve already drilled into the block. You’ll feel it when you’ve hit the center hole. Drill these on 3 sides of the block, with one hole on each of the 3 sides. (One side of your block will not have a hole.)
Clean out any wood shavings from your newly-drilled holes.
Step 5: Cut a hole in the mason jar lid.
Take the lid of the mason jar, and separate the flat round metal portion from the ring that screws the lid onto the jar. You will be cutting a hole into this.
First, draw a hole in the center of the lid. This should be the same size as the hole you’ve drilled into the wooden base. Hold a screwdriver at a slight angle, then hammer this into the lid. This will create an incision in the lid. Then, using a snips cutting tool, widen the circle to the same size as the wooden base hole. Be careful when doing this, as the metal is sharp.
Combine the lid with the metal ring that screws the lid onto the jar.
Step 6: Add mason jar lid to wooden base.
Place your newly cut lid over the hole of the block’s base, lining up the hole in the lid and the hole in the base. Nail the lid into place with short nails with heads, ensuring that the holes stay aligned.
Step 7: Add the metal chain to the wooden base.
On the angled portion of the wood block (where there are no holes), add a metal chain so that your new trap can be hung up. Center a staple on the block, then thread the chain through it. Hammer the staple into place in the middle of the angled portion of the block.
Step 8: Screw on the glass jar.
Screw the glass jar onto the lid that is now attached to the wooden portion of the carpenter bee trap.
Your trap is now ready to hang!
We hang our traps near areas where we’ve spotted carpenter bee activity or wooden structures that we don’t want carpenter bees to target. We’ve had great success with these traps at Stoney Creek Farm so far!
***
Don’t want to make a carpenter bee trap yourself?
If you’re local to Nashville and don’t want to make your own bee trap, Olin will make you one for a small fee. Contact us at stoneycreekfarmtennessee@gmail.com to order your carpenter bee traps.
Prefer visual instruction?
Watch our video below for a step-by-step guide to creating your trap!

