Recipes for Crunchy Snacks: Veggie Chips
Who doesn’t love salty, crunchy potato chips? Unfortunately, there’s a lot of truth to that “bet you can’t eat just one” marketing slogan, and that’s not a good thing. Potato chips might be delicious, but they’re certainly not good for you. Veggie chips might be the answer to a more healthy snack!
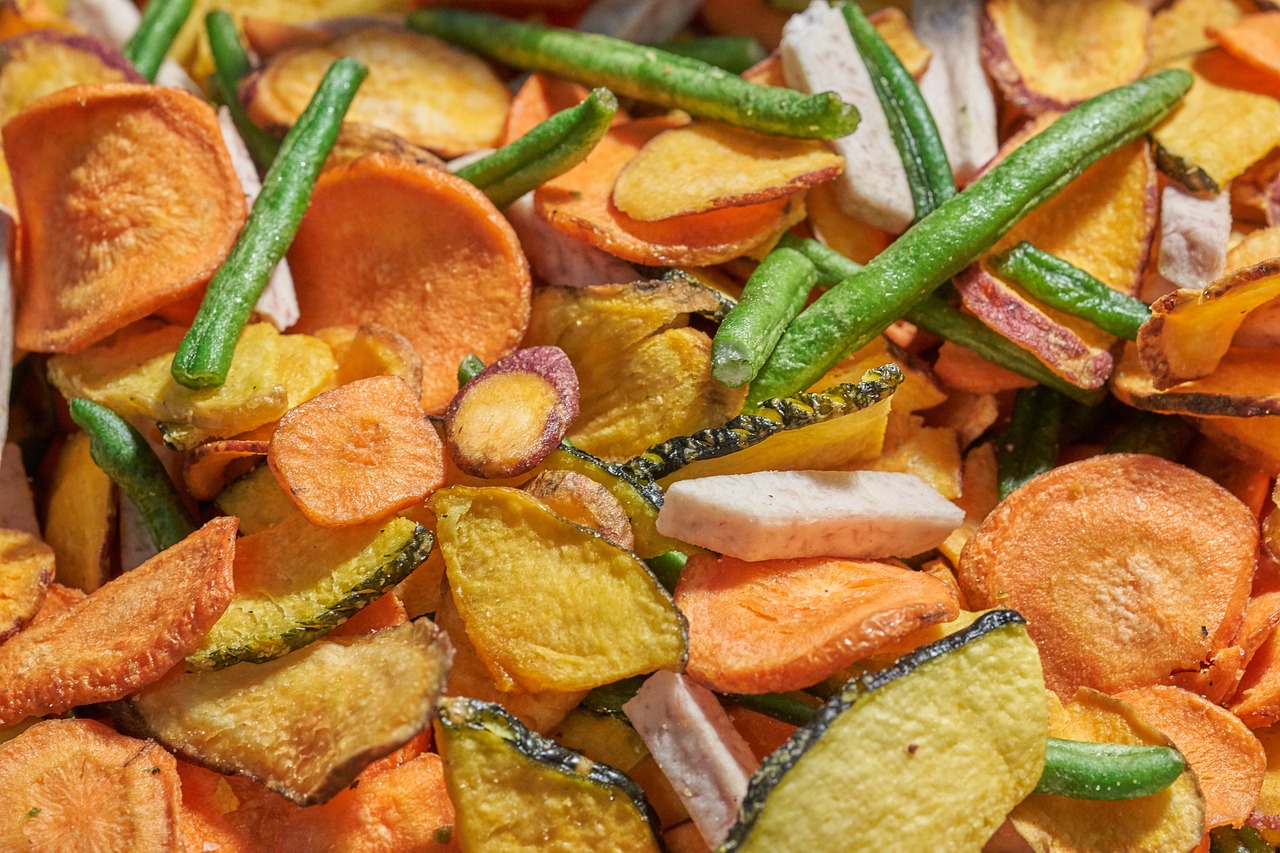
Thankfully, you can easily turn a lot of what your garden yields into crunchy, delicious snacks. We’re talking about veggie chips, and making them is a great way to use up some of your garden surplus while also creating something delicious that the whole family will love.
Why Veggie Chips?
Why make your own chips? We do it for several reasons:
- They’re much better for you than store-bought potato chips. Homemade chips are much fresher and packed with nutrients. Plus, you control the ingredients. Most potato chips are made with vegetable oil, which isn’t particularly healthy. By swapping for olive oil, you can add heart-healthy ingredients.
- If you’re dealing with an overabundance of fresh vegetables (we’re looking at you, zucchini and tomato plants), this is a better way to get rid of them than sneaking them onto your neighbor’s porch or foisting them off on friends and family.
- It’s a great way to save money. Seriously, have you seen the price of store-bought snacks these days?
No Special Equipment Needed
Making really good potato chips usually means deep frying and all that goes with it. You need a spider or basket, cooling racks, and a place to do the frying (preferably not in the house). Veggie chips can be made right in your oven, air fryer, or even your dehydrator, depending on your preferences and the vegetables you have on hand.
Not sure where to start? We’ve got three simple, delicious recipes for crispy veggie chips that are sure to delight your taste buds.
Basic Veggie Chips
Here’s a simple, quick recipe that yields some of the best crunchy snacks. All you need is 20 minutes, some root veggies, and an oven.
Ingredients:
- Non-starchy root vegetables (my favorites are carrots and beets, but you can use any others you might want)
- Starchy root vegetables (turnips and sweet potatoes are good examples, but you can also use kohlrabi, rutabaga, or even regular old spuds)
- 2 tsp. kosher salt
- ½ tsp. black pepper
- Cooking spray (optional, but important if you want your chips to be crisp)
Directions:
- Preheat your oven to 400°F.
- Slice your vegetables. I recommend using a mandolin cutter to get them thin and even, but a very sharp knife will also work.
- Add your sliced veggies to a mixing bowl.
- Add salt, pepper, and a spritz of cooking oil and toss to mix.
- Spread out all ingredients on a lined baking sheet.
- Bake for 10 minutes, flip, and bake for 5 to 10 more minutes.
- Remove when crispy (note: some slices may crisp sooner than others and should be removed and set aside before burning).
- Let them cool completely before eating.
Zucchini Chips in the Air Fryer
Dealing with too much zucchini? Most gardeners struggle to eat or give away all the bounty their plants produce this time of year. Why not turn those zucchinis into crispy, crunchy snacks right in your air fryer?
Ingredients:
- 1 large zucchini
- Kosher salt (enough to draw out the moisture of your zucchini)
- 2 tbsps. oil (olive oil is recommended, but skip the EVOO and use regular)
- 1 tsp. powdered garlic
- Optional: black pepper
Directions:
- Slice your zucchini (you’re looking for ⅛-inch slices).
- Lay it out on a kitchen towel and sprinkle with kosher salt.
- Let it “sweat” to remove as much moisture as possible.
- Pat dry with paper towels and add to a large bowl.
- Add olive oil, salt, garlic, and any other seasonings, and toss to coat.
- Arrange zucchini in a single layer in your air fryer basket.
- Cook at 400°F for 15 to 20 minutes. Work in batches until all the slices are crispy and golden brown.
- Tip: check your zucchini slices after about 10 minutes and remove any that are done so they don’t burn.
Crispy Tomato Chips with Parm
Don’t think that root veggies or zucchini chips are the limit to what you can do. With a little creativity, you can even turn all those extra tomatoes into delicious, crispy snacks. Plus, there are two ways you can do it: with your oven or with your dehydrator. These low-carb, high-nutrition chips will give you that satisfying crunch you crave without all the extras.
Ingredients:
You’ll need these ingredients whether you opt to bake or dehydrate:
- 6 cups thinly sliced tomatoes (note: beefsteak tomatoes work best because there are fewer seeds and less gel inside)
- 2 tbsp. Olive oil (regular if you’re baking, but EVOO is fine if you’re dehydrating)
- 2 tsp. kosher salt
- 1 tsp. garlic powder
- 1 tsp. Italian seasonings
- 2 tbsp. parmesan cheese
- Black pepper to taste
- Red pepper to taste
Instructions:
Dehydration:
- Drizzle the olive oil over your tomato slices and then lay them out in a single layer on the tray.
- Combine the seasonings in a small bowl and then sprinkle over the tomatoes.
- Dehydrate for 12 to 24 hours (until the slices are fully dehydrated – time will vary on thickness and moisture content).
Baking:
- Preheat your oven to 275°F.
- Grease a cooling rack with cooking spray/oil.
- Place the rack on a cookie sheet.
- Lay several paper towels on a plate or small cookie sheet and arrange the tomatoes on the towels.
- Lay another layer of paper towels over the tomatoes.
- Press gently and let the paper towels absorb the liquid.
- When dry, add the tomato slices to the rack.
- Drizzle the oil over the tomatoes and then sprinkle on your seasonings.
- Bake for 3 to 5 hours, checking every 30 minutes. You want the tomatoes to be completely dried out and beginning to get crispy.
- Remove from heat, sprinkle with parmesan cheese, and broil on low for up to 2 minutes.
- Let them cool and then remove them from the rack.
- Note: You may need additional salt or other seasonings.
Want More Recipes and Learning Experiences?
Want to see more healthy recipes? Check out our Blogs! We also have local events and classes to learn sustainable living practices such as preserving food and making sourdough bread. If you don’t live in the Middle Tennessee area, we offer online classes and other resources to help you in your journey.